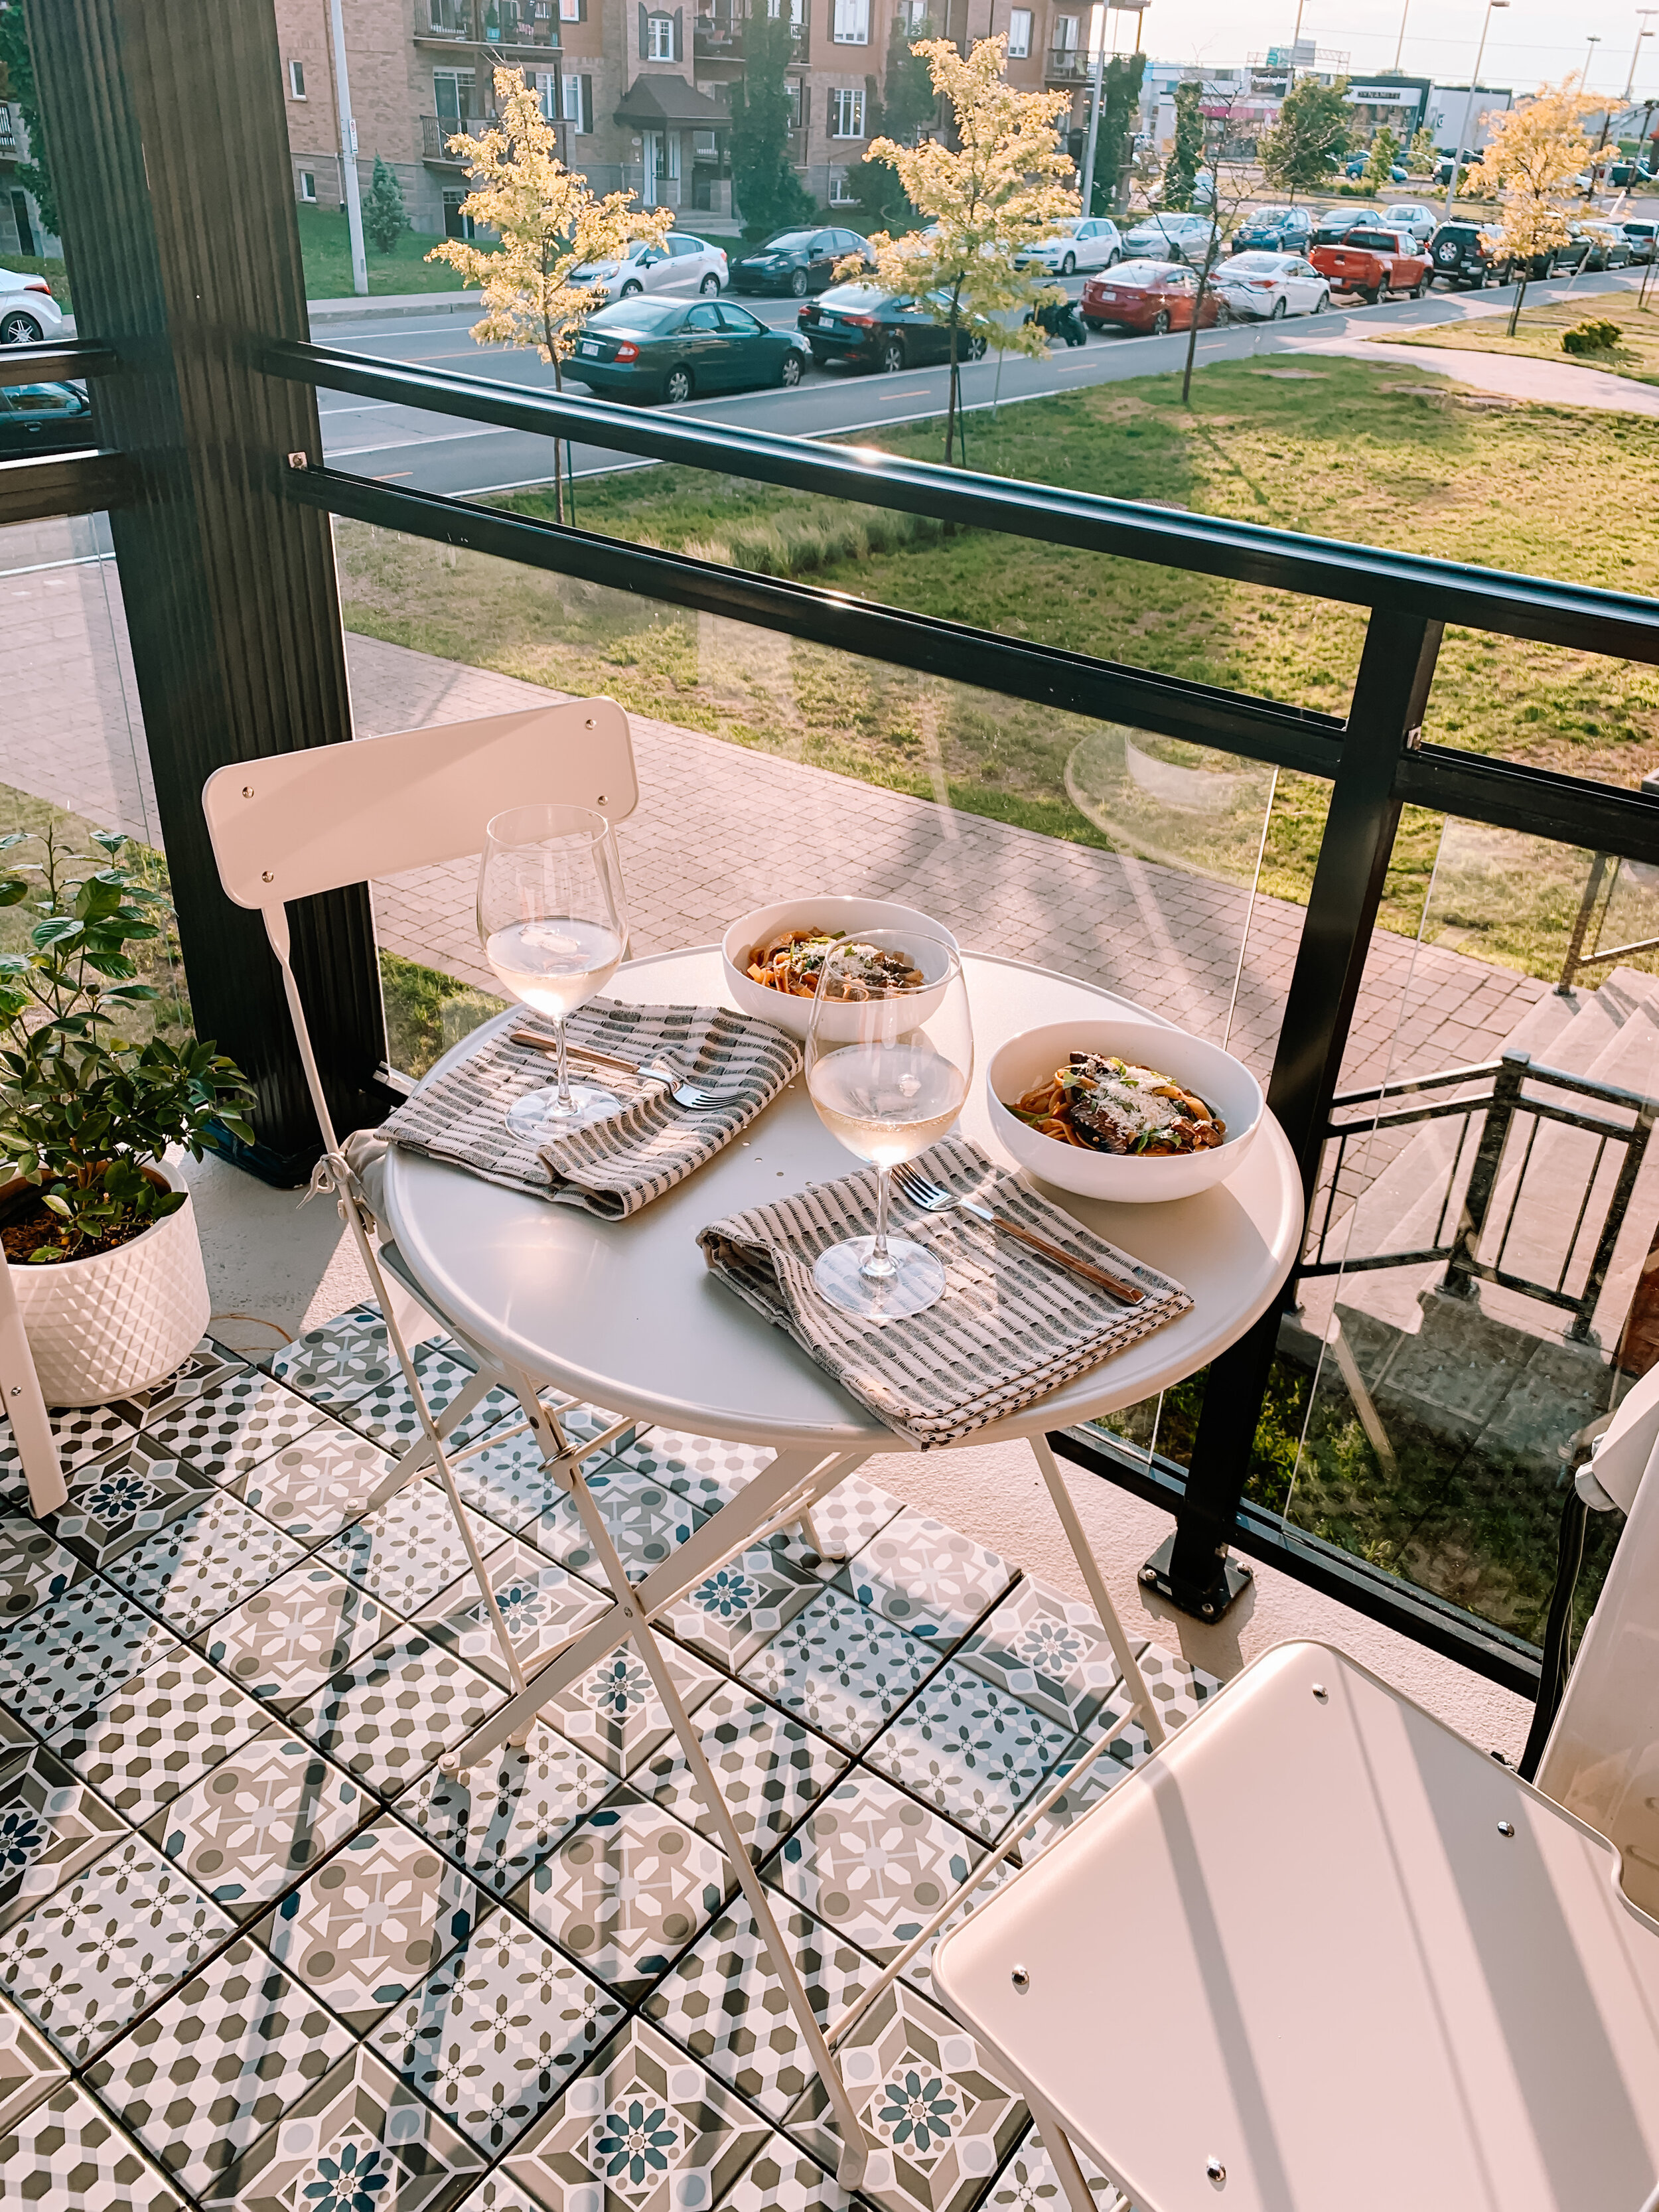
Home Series PT 3: OUR CONDO BALCONY MAKEOVER
I’m so happy I’m finally documenting this transformation! When Mike and I first moved into our condo we dreamt about what our little balcony space would look like. We wanted to create a space that felt like an extension to our home. We wanted to walk out there and feel like we had created an oasis and a perfect spot to rest after a long day, sip some wine and chat about our day. We also wanted it to be a place where we could entertain and hang out with our friends.
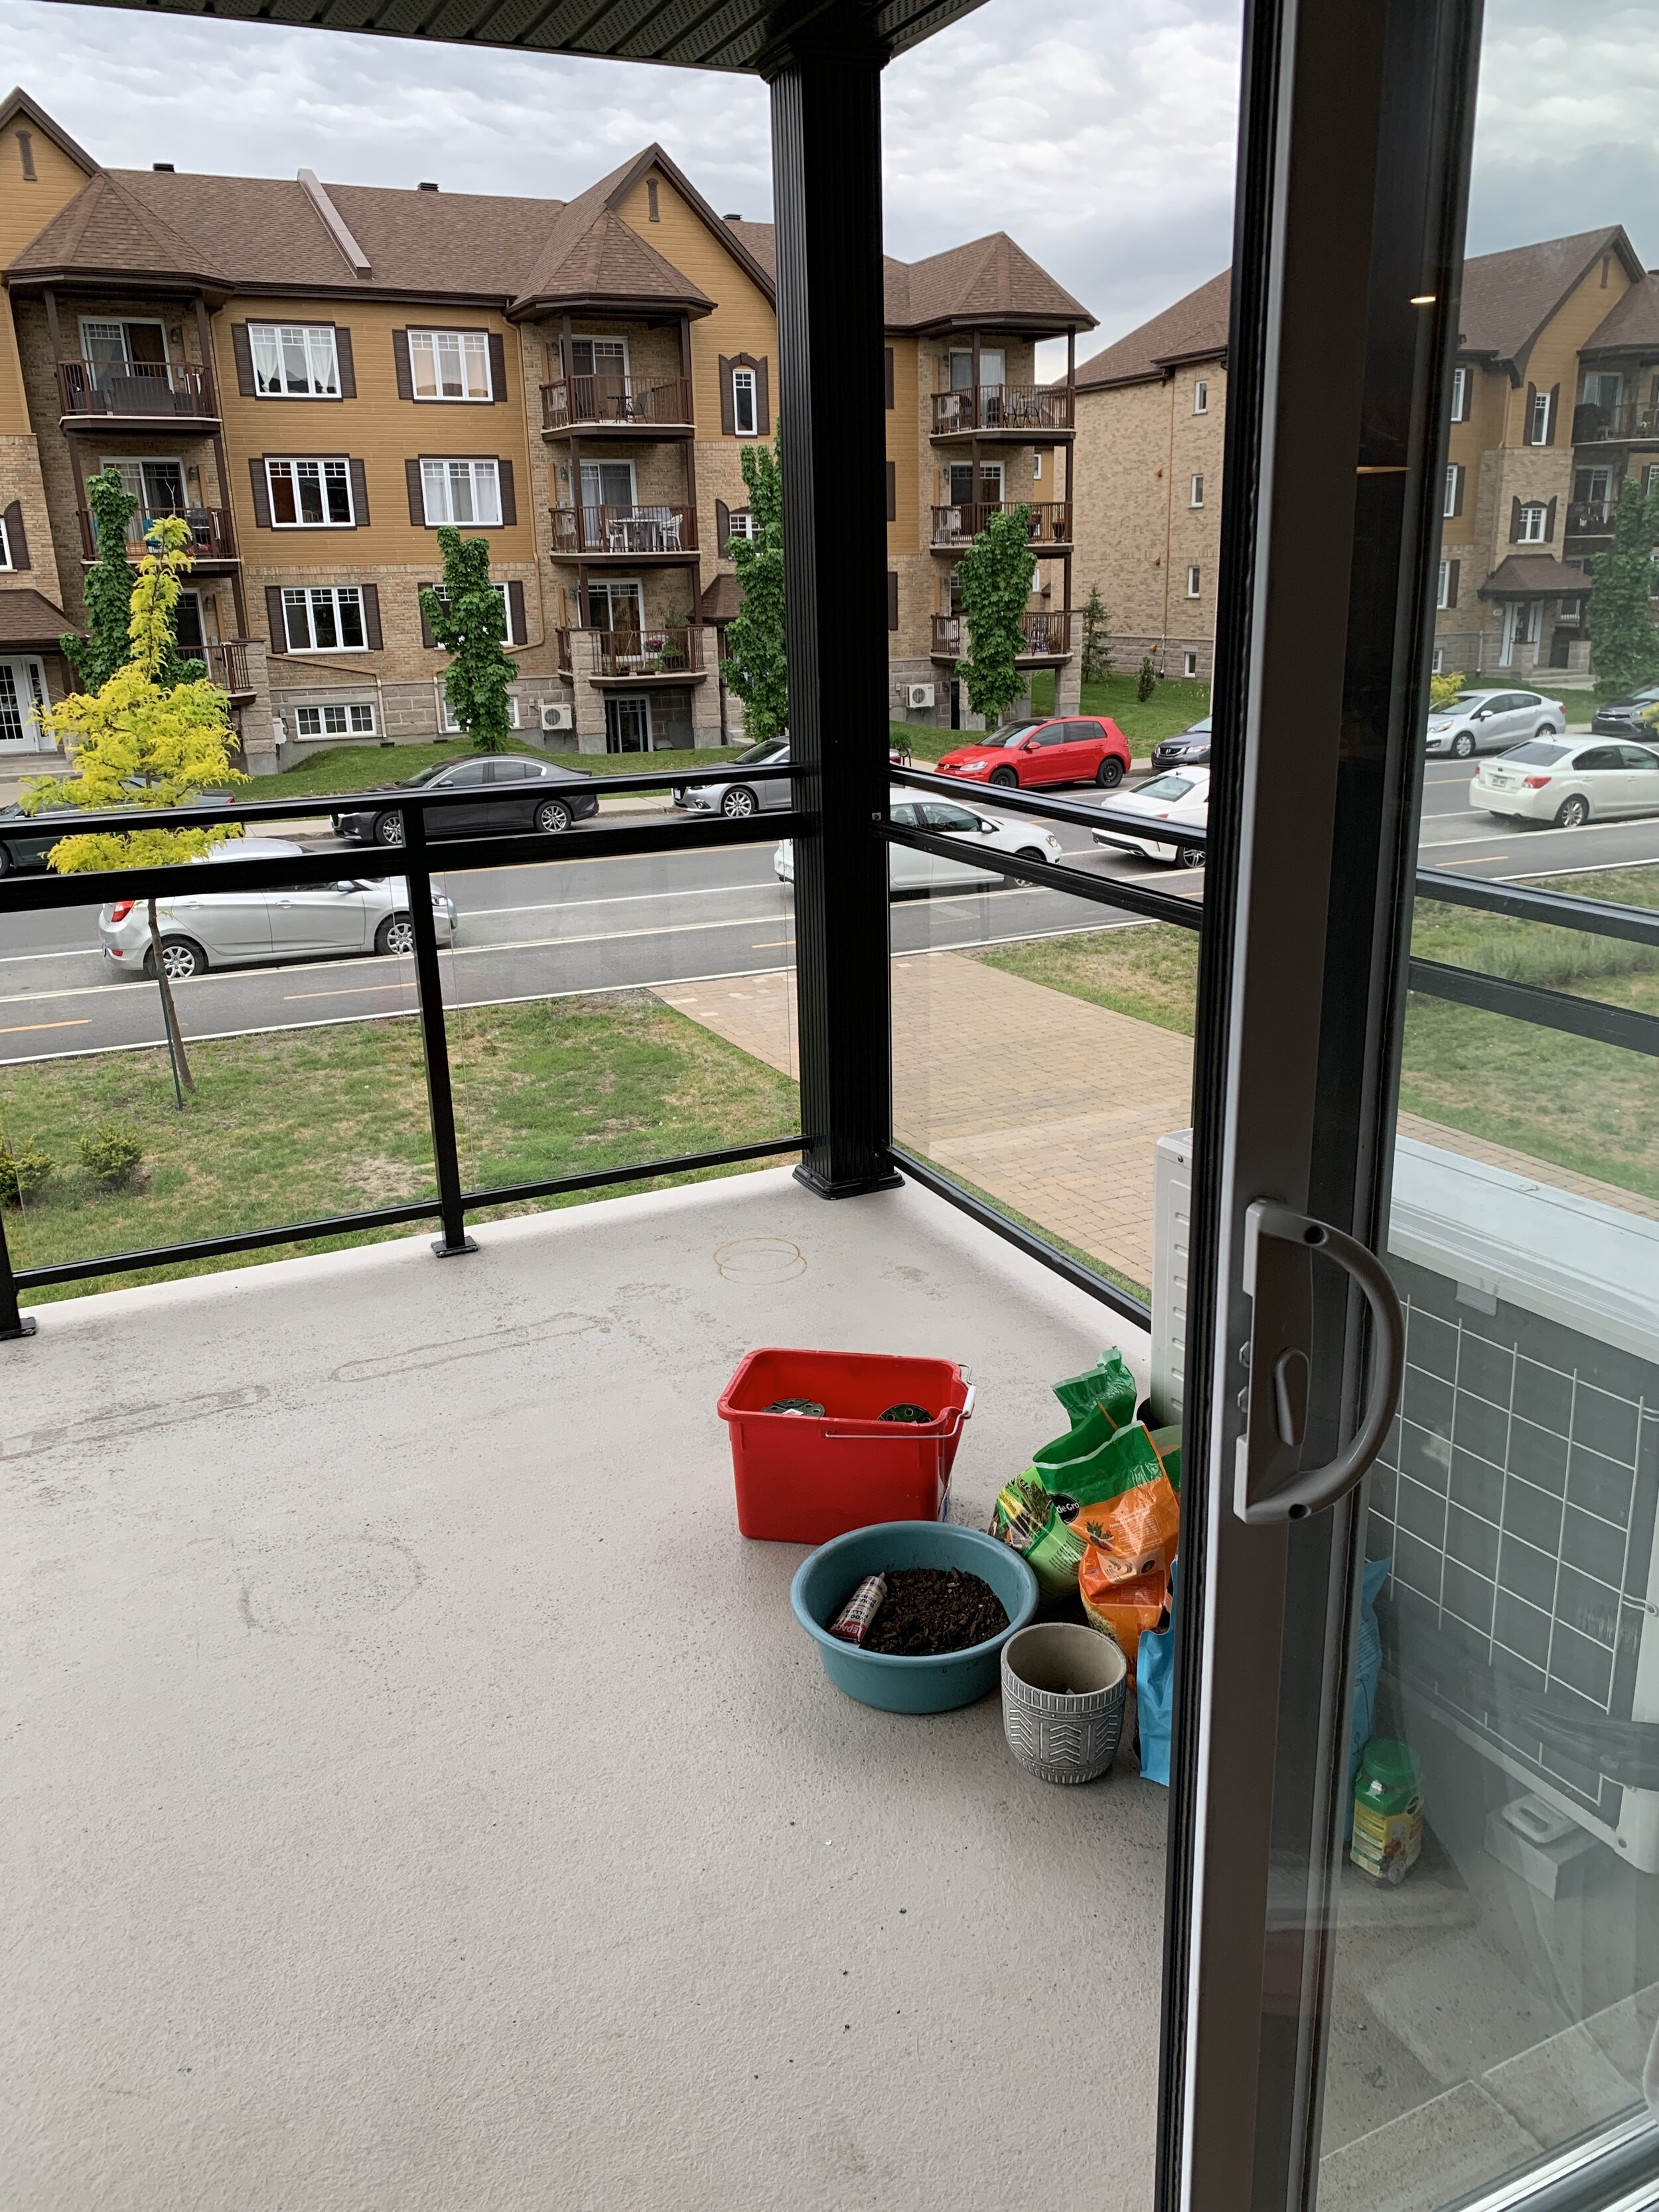
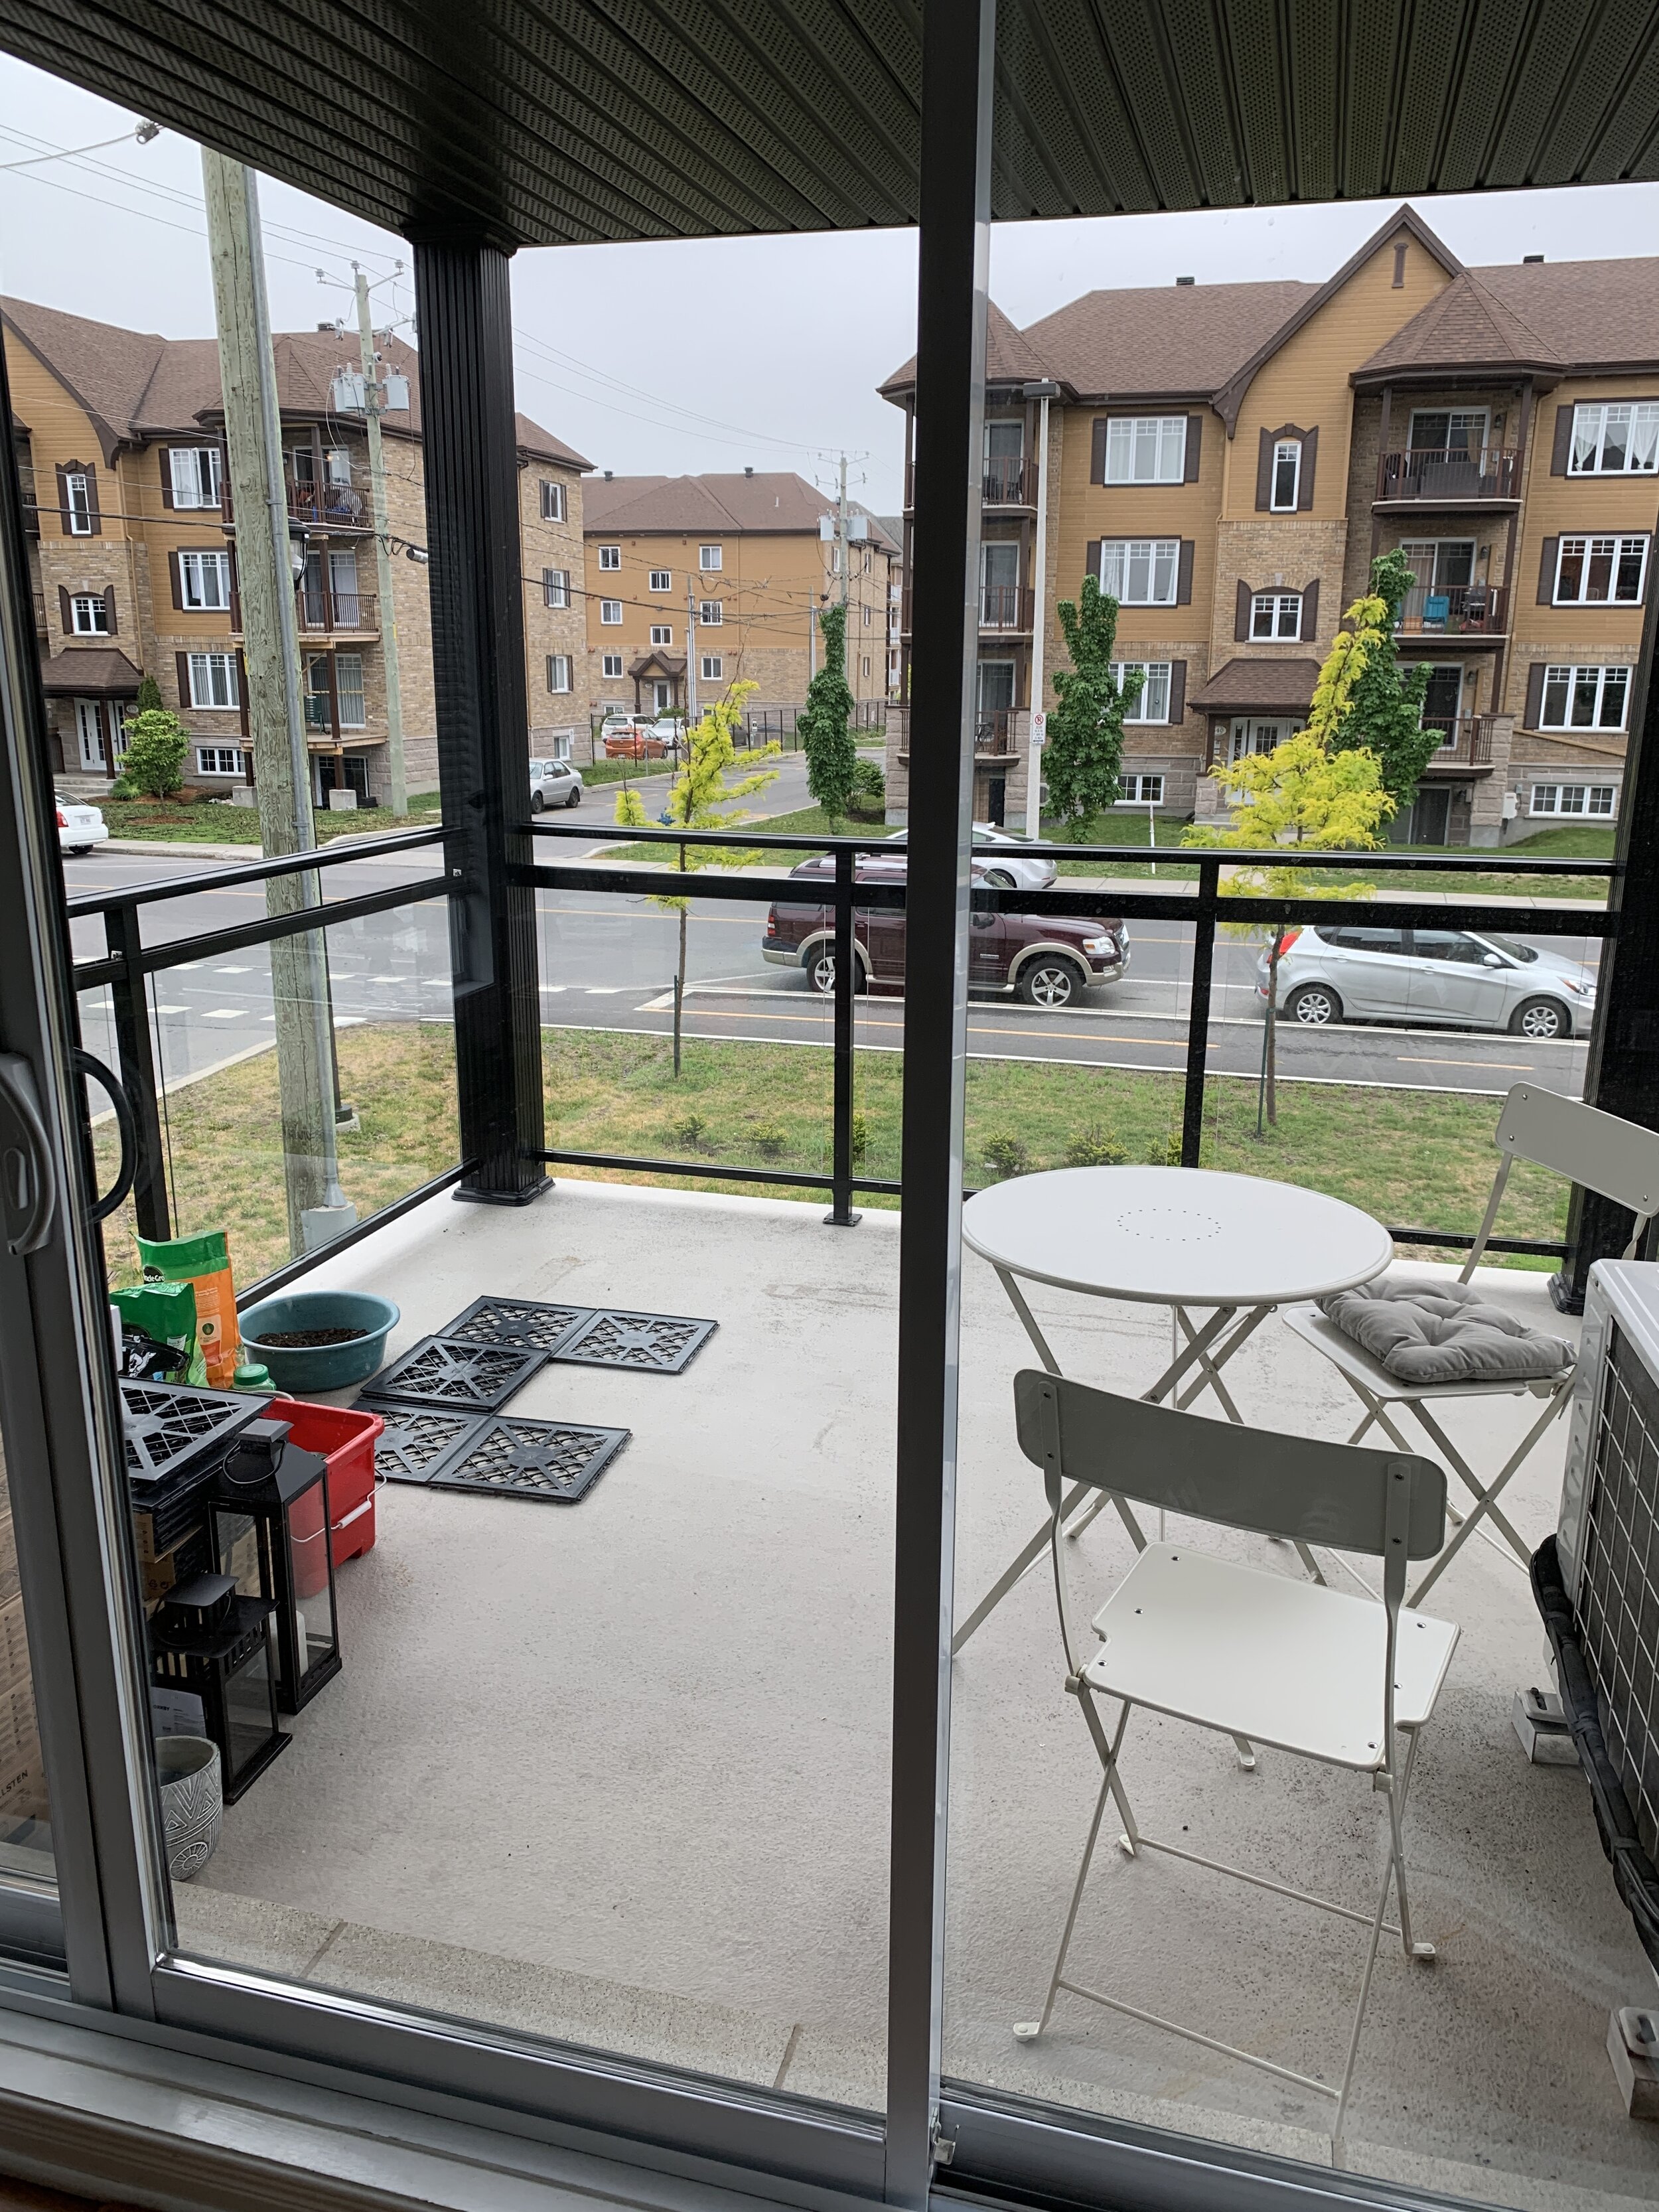
Before we get into the transformation here’s what we’re working with. Our balcony is a 10 ft by 10 ft square which is actually a pretty decent size. Our condo association will not allow us to put anything permanently fixed to the actual structure or put up a privacy wall. We originally wanted a privacy wall but we opted not to in the end because of condo rules.
Tiffany Leigh (@tiffanyleighdesign) who is our interior designer helped us bring our vision to life and also made sure that everything we wanted on our balcony could actually fit. So far she has helped us with our office, our living room and now balcony. We love working with her!
Alright! Here are some before pictures. (It’s so crazy to look back at these pictures now!)
Before pictures
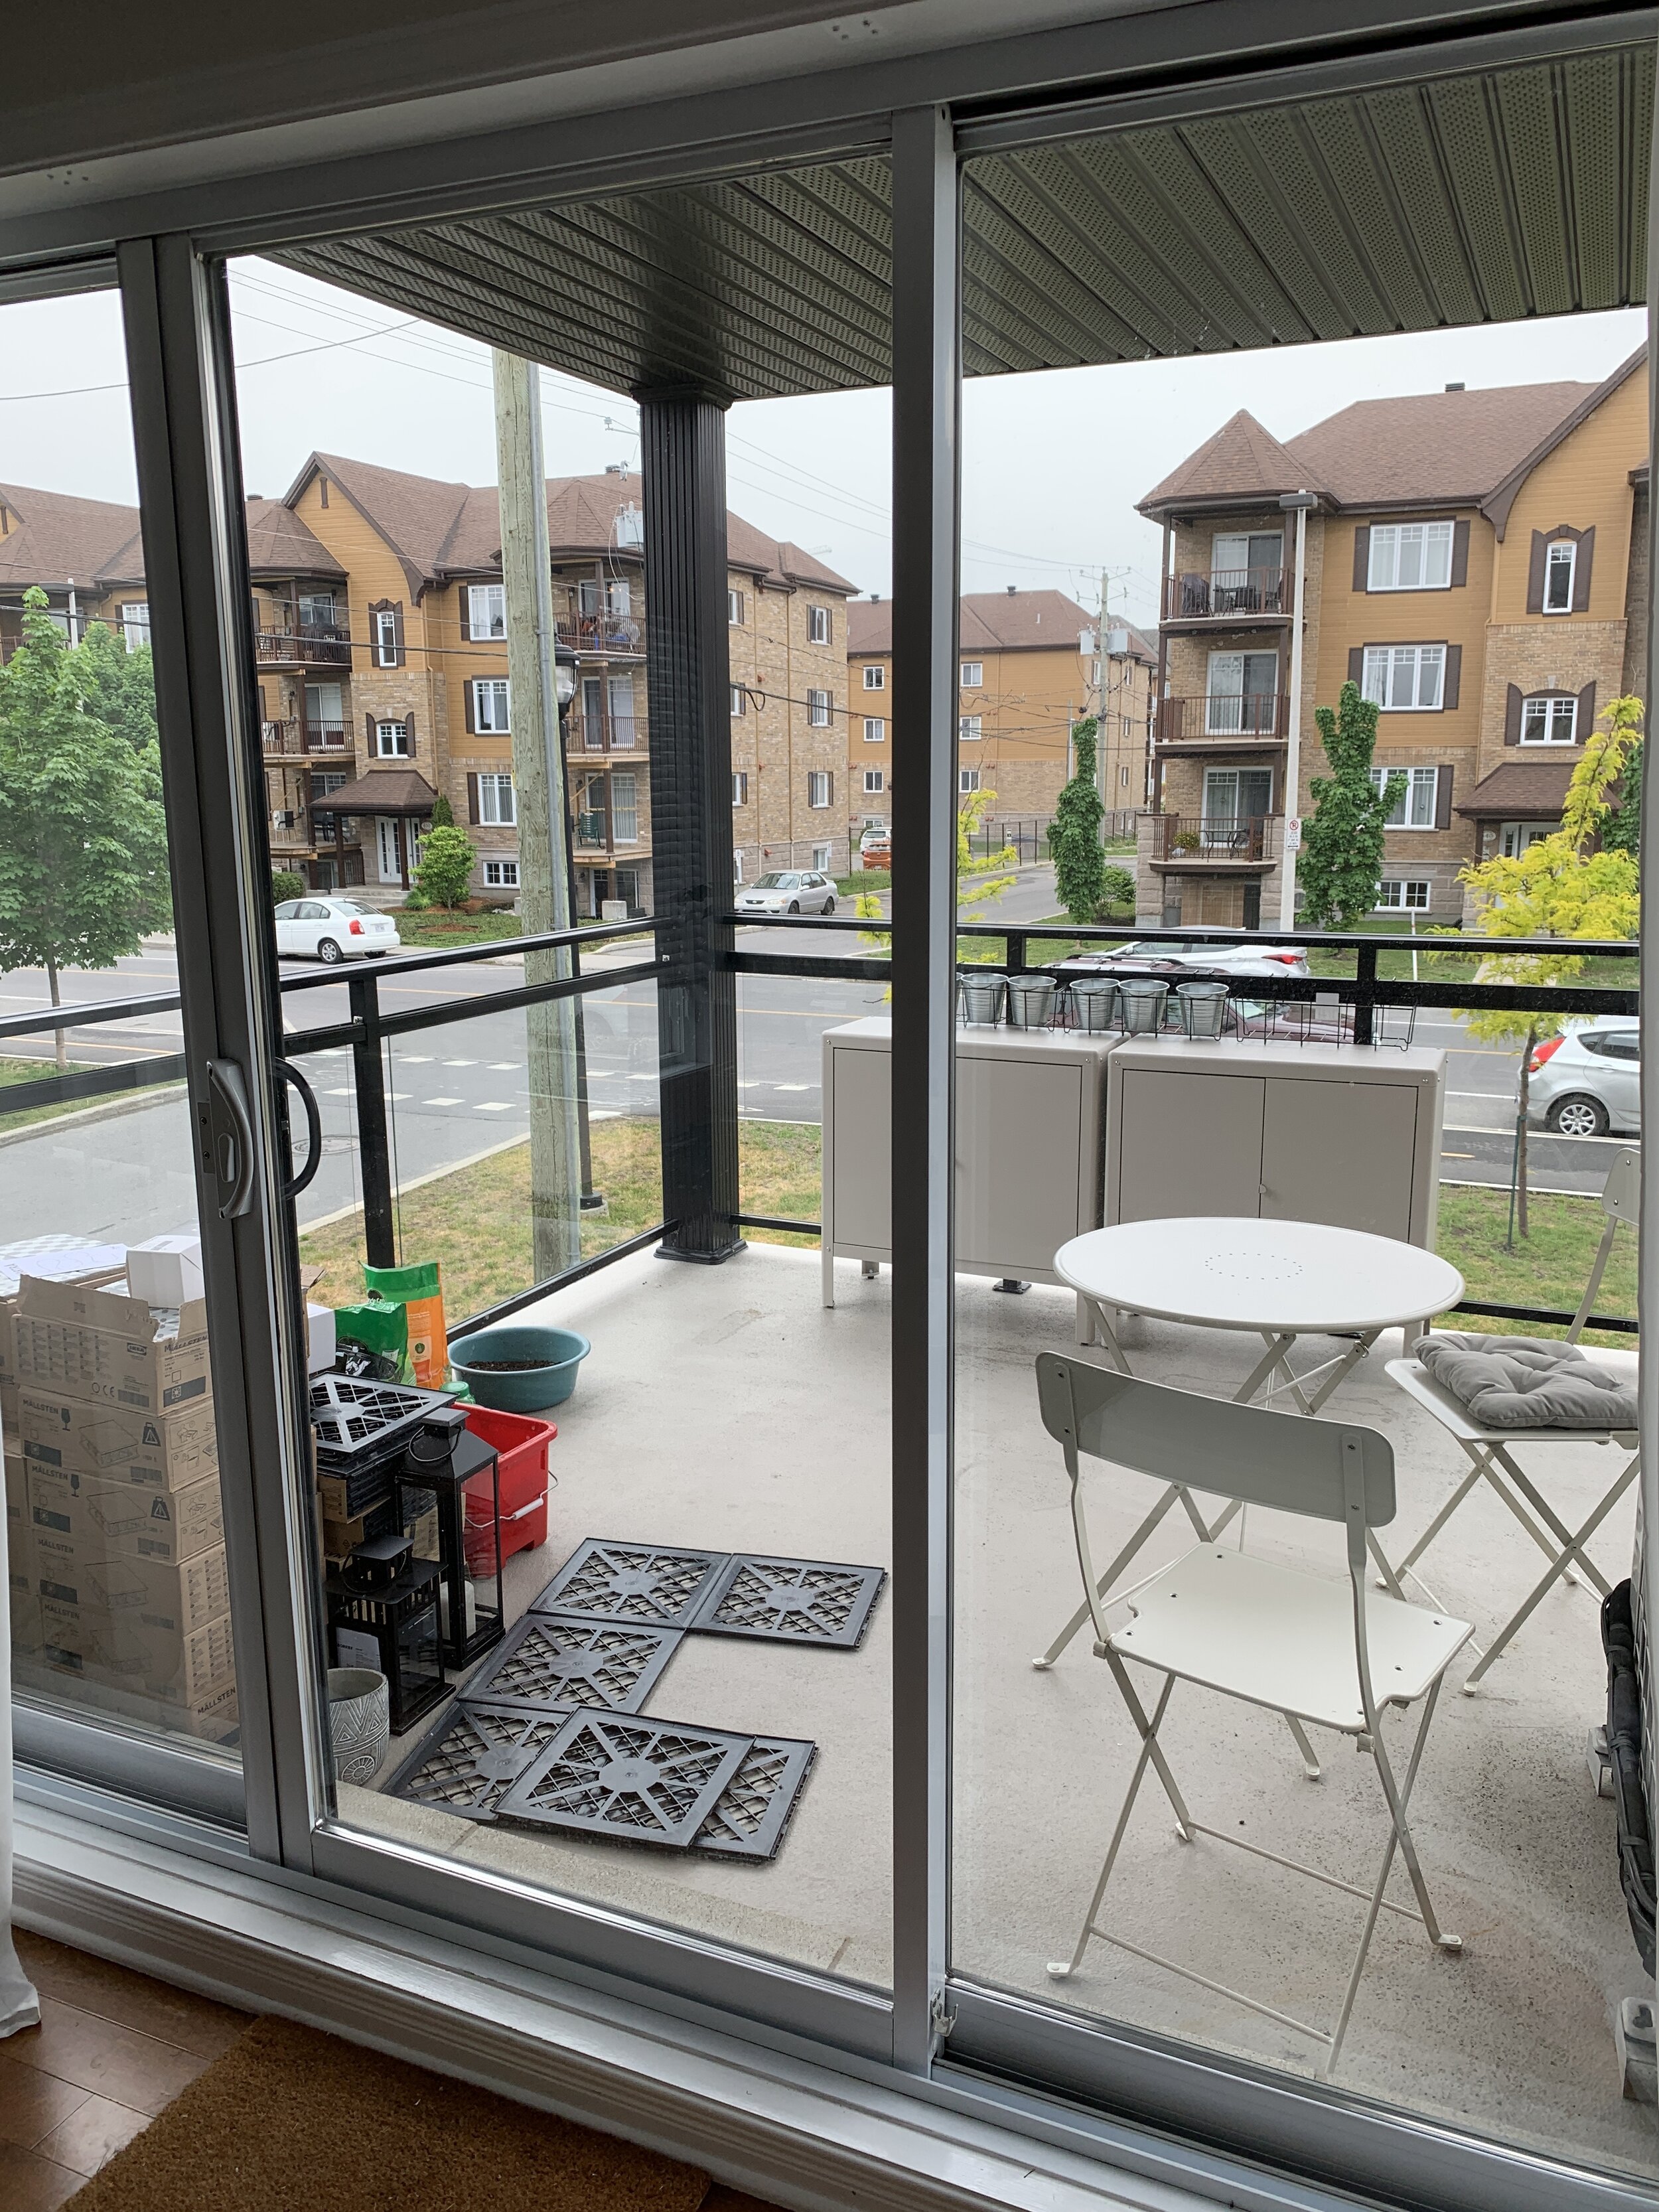
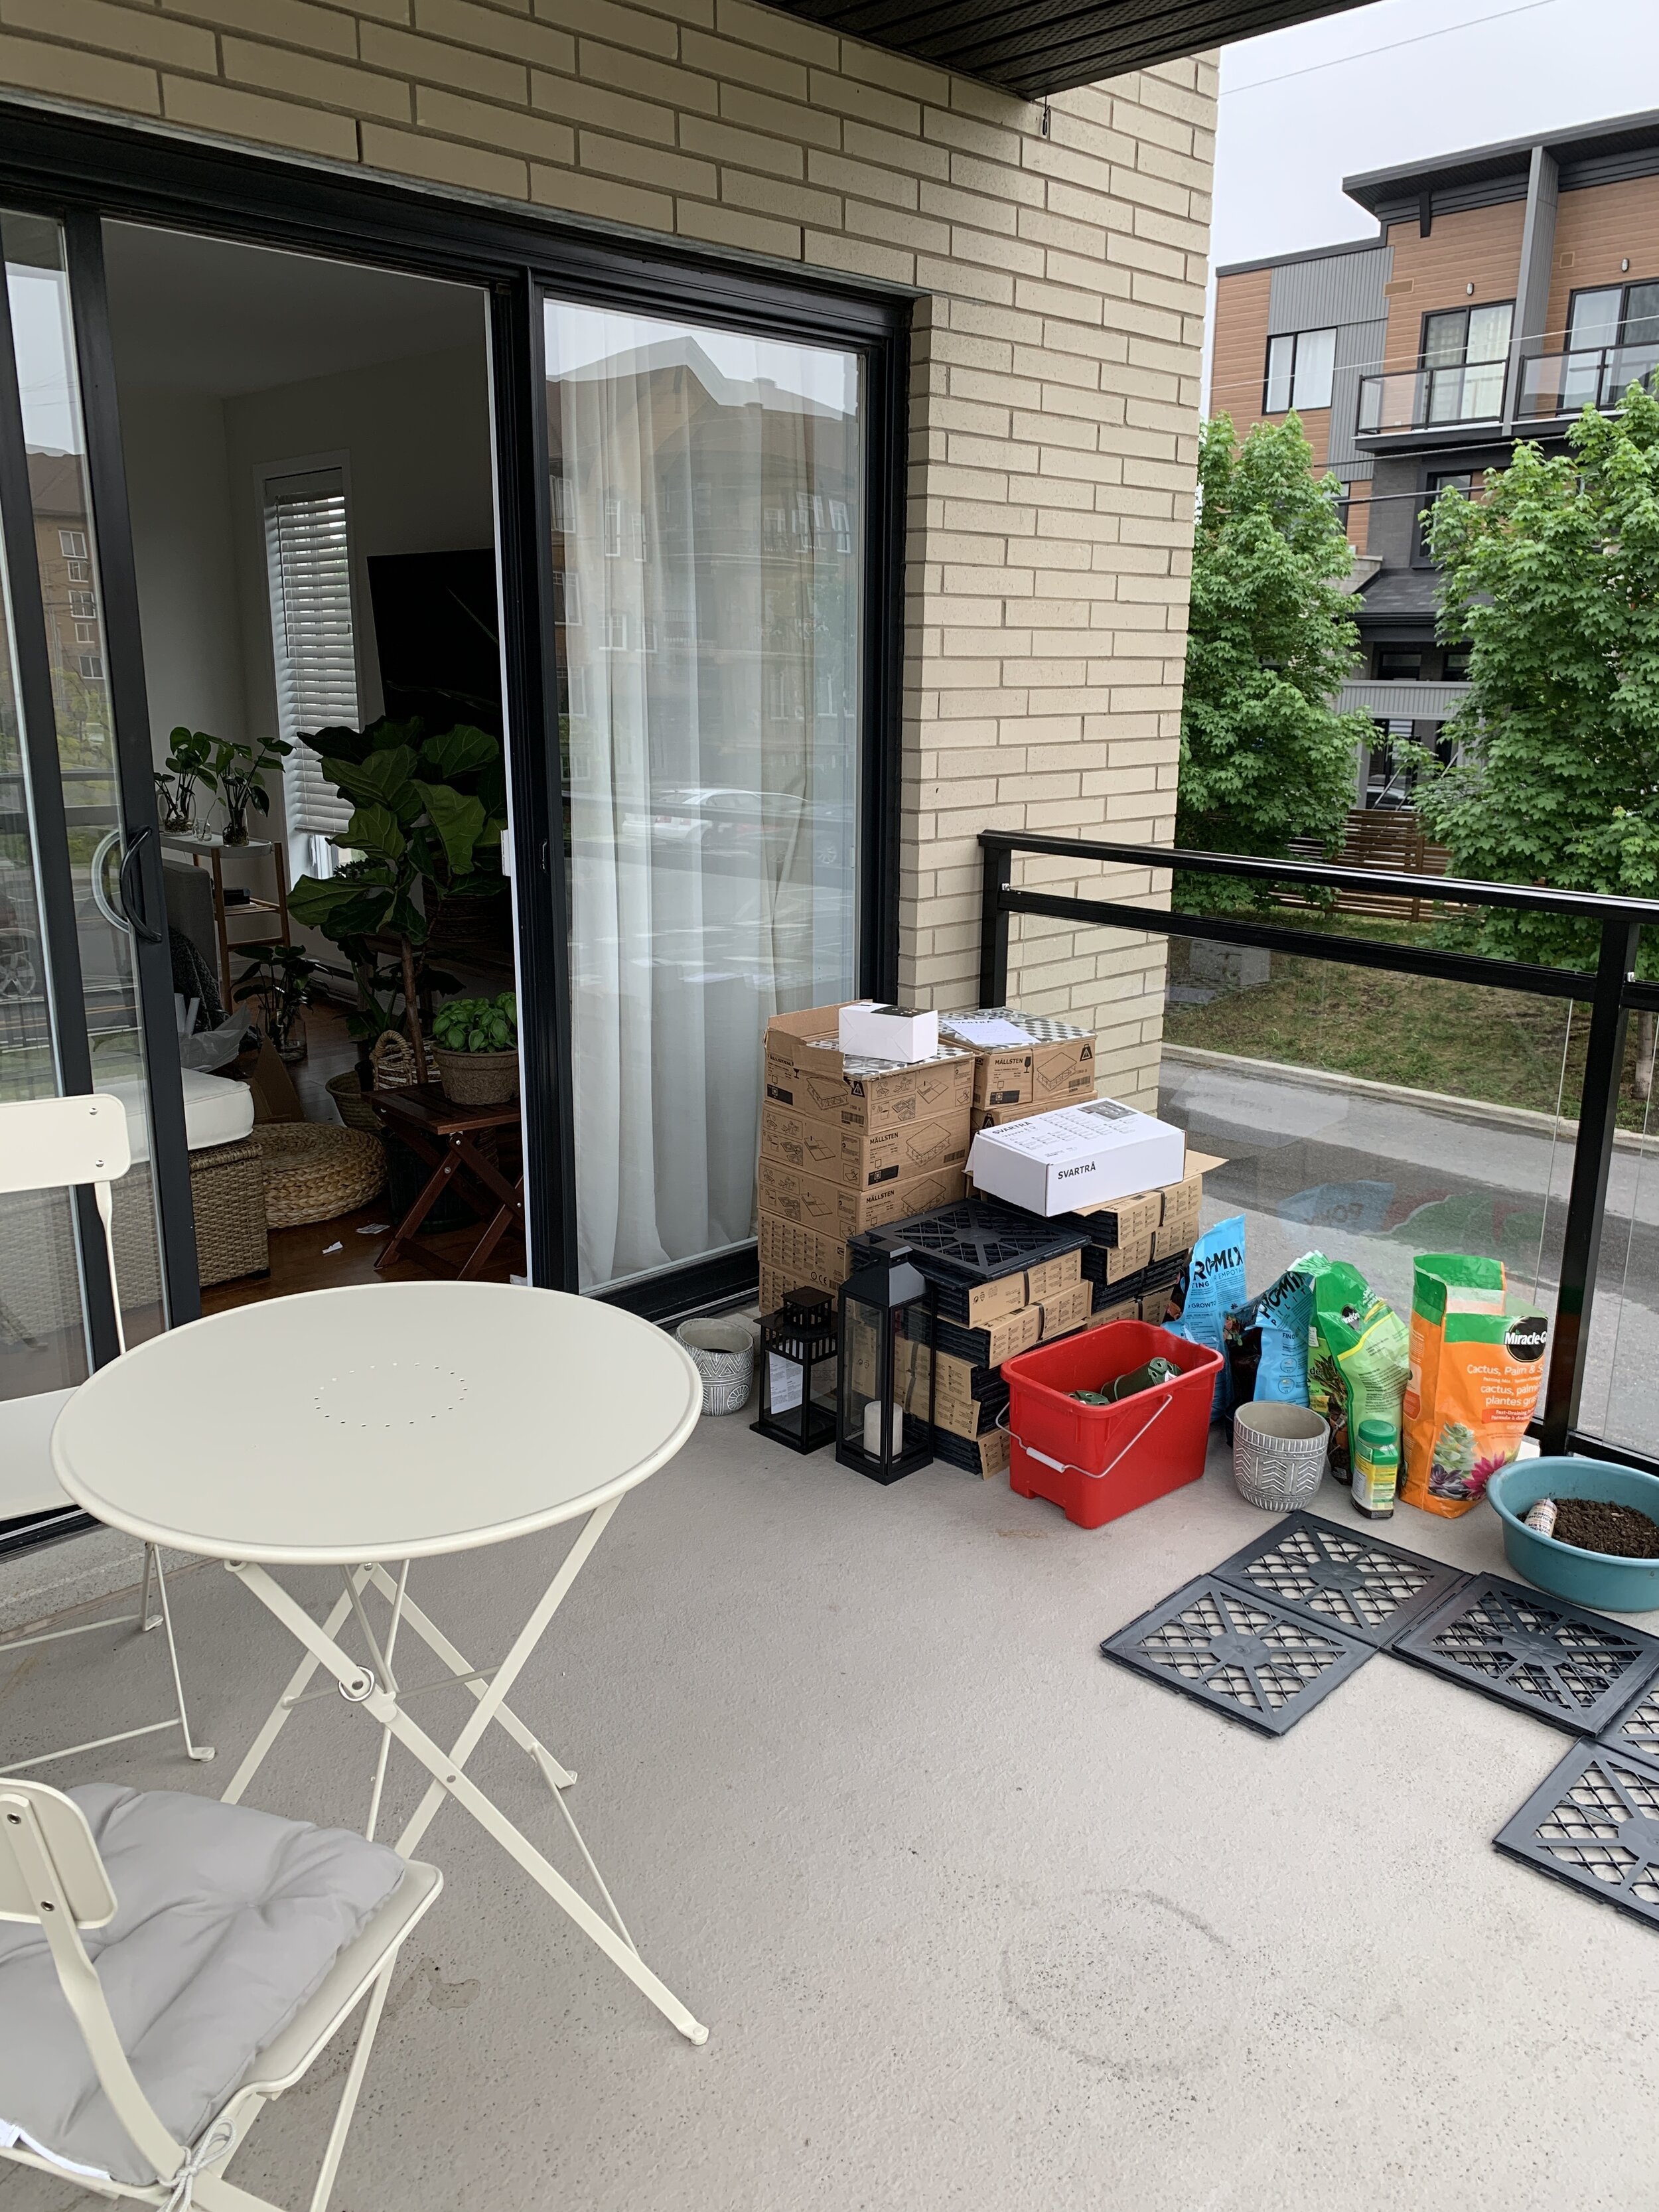
After we figured out the design we headed over to IKEA to pick up everything we needed. Yes, everything for this balcony is from IKEA. When we started loading the car we had so many things that I was starting to question whether everything was actually going to fit or not. I’ll include our full IKEA shopping list at the end of this post.
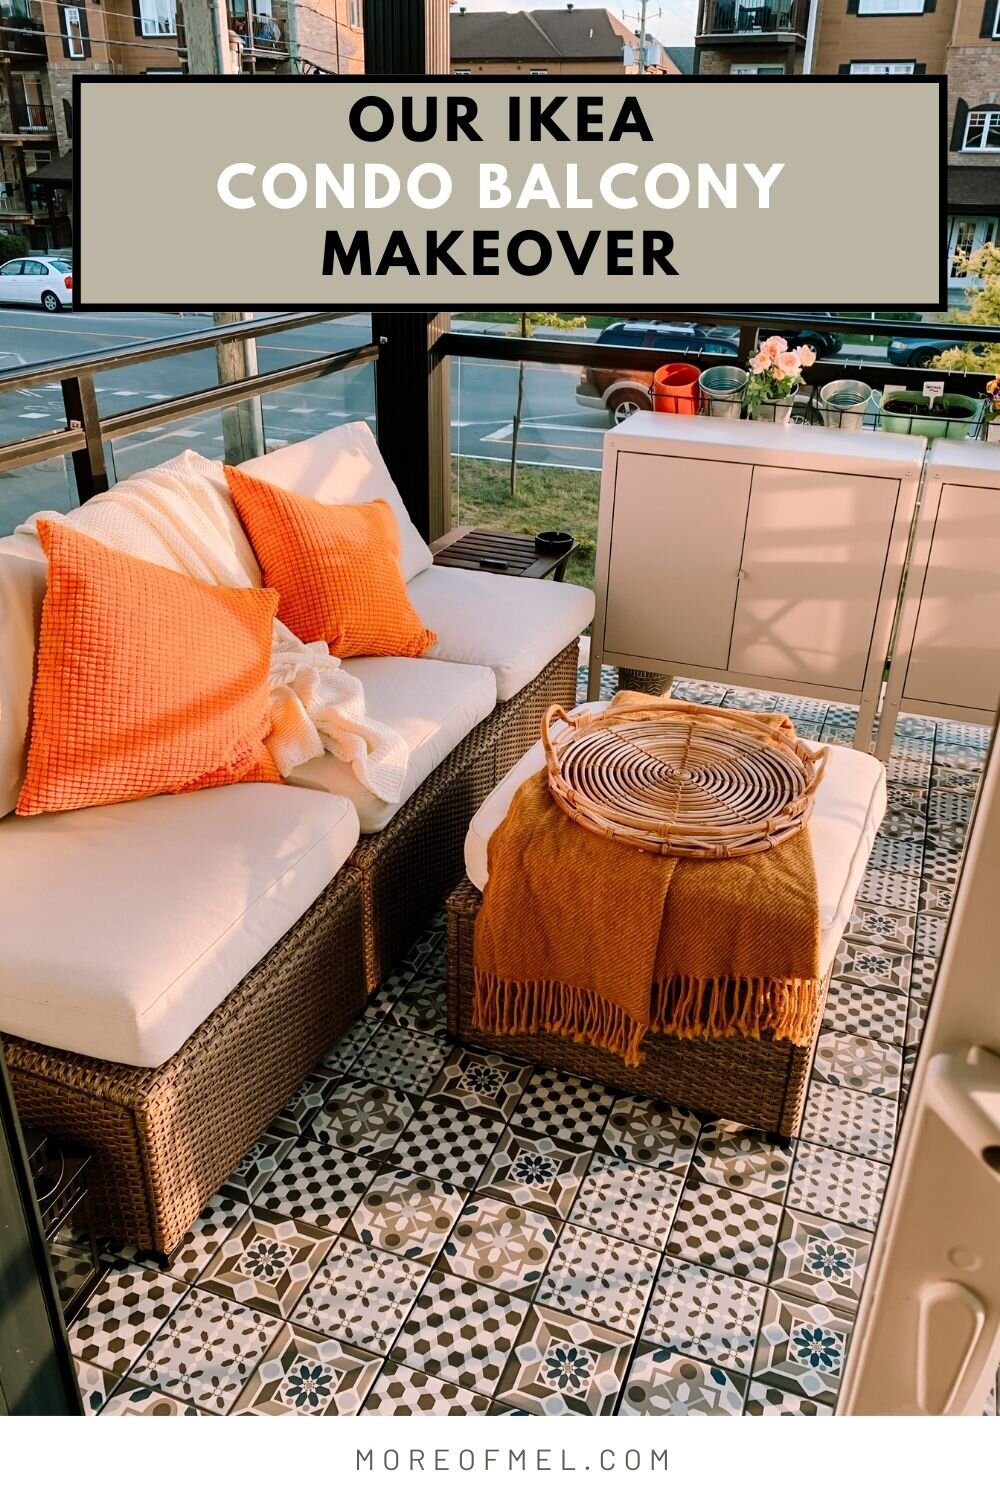
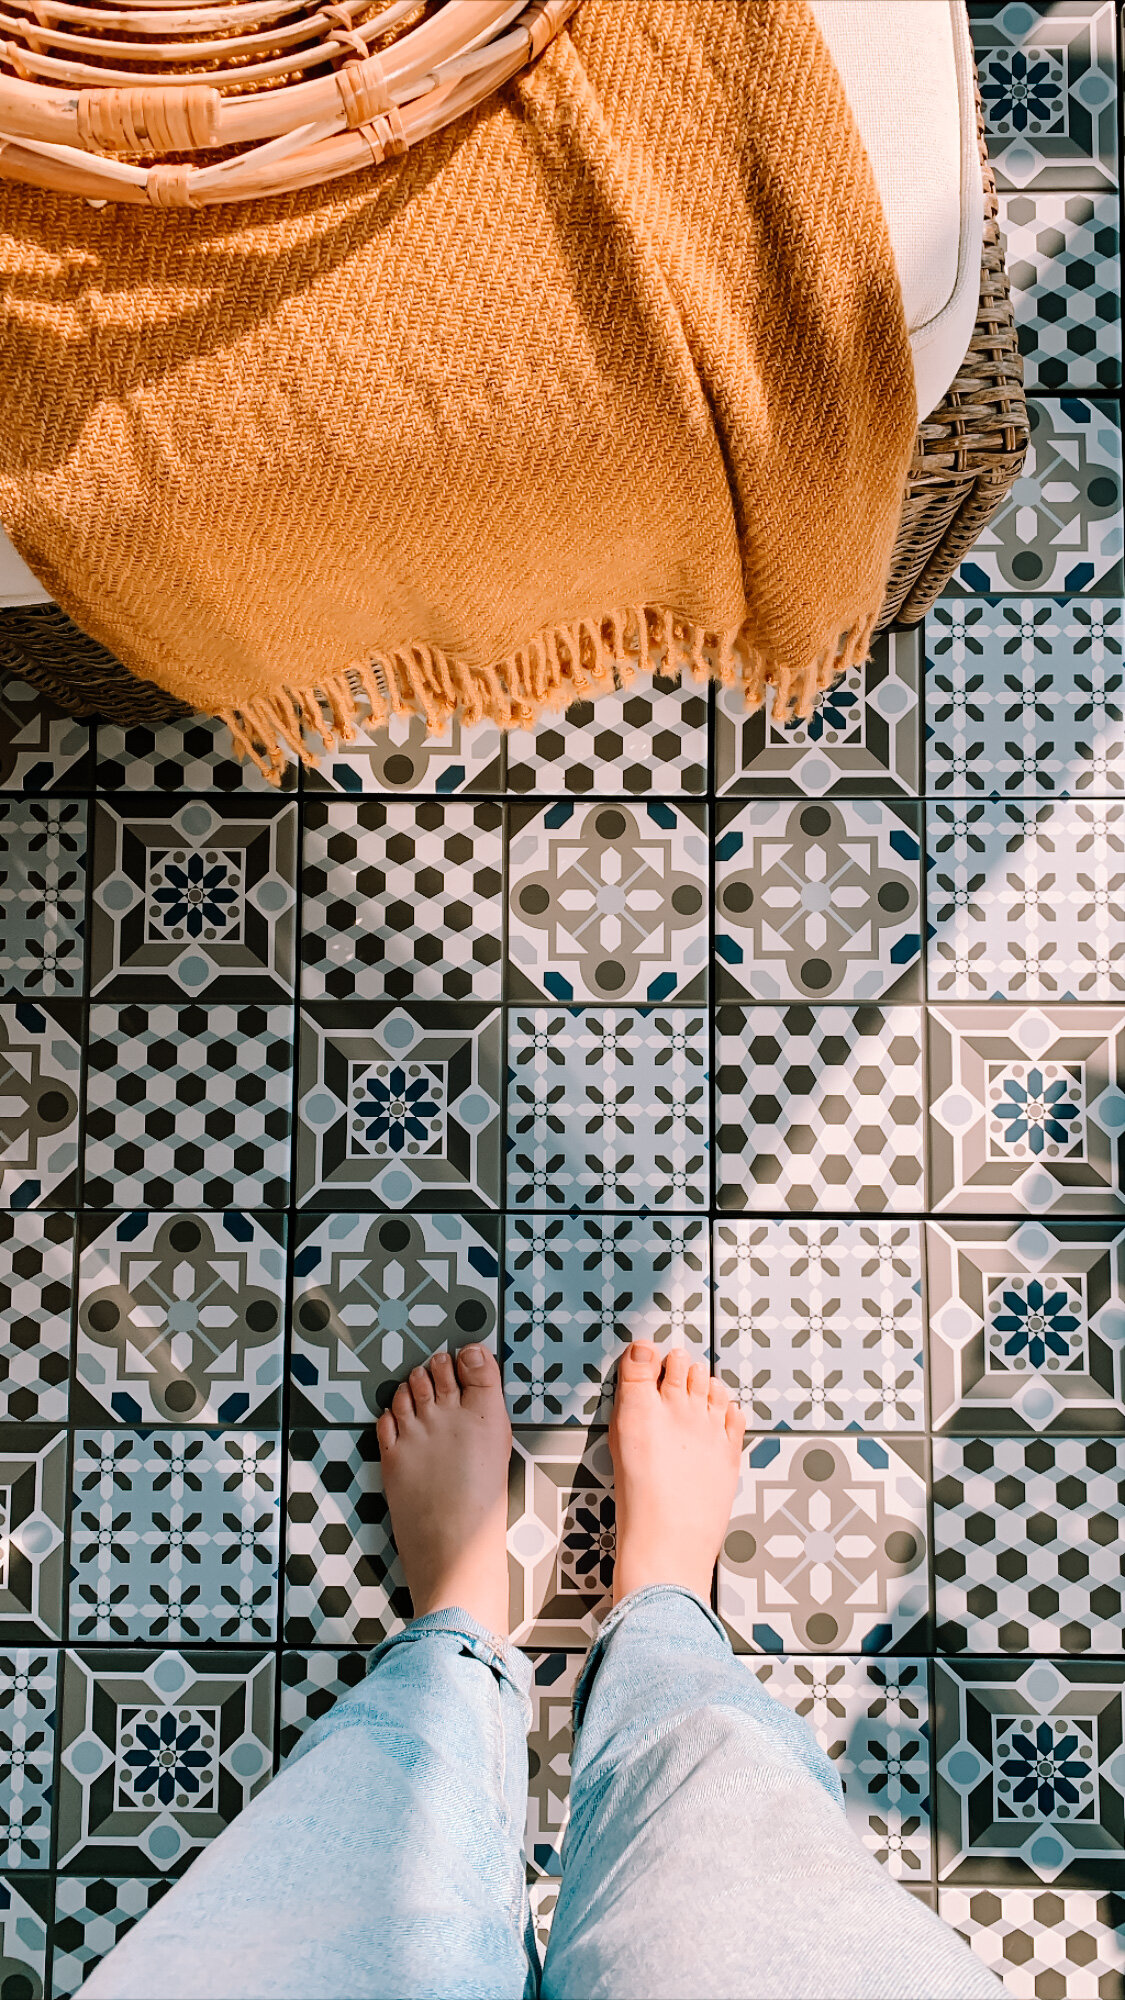
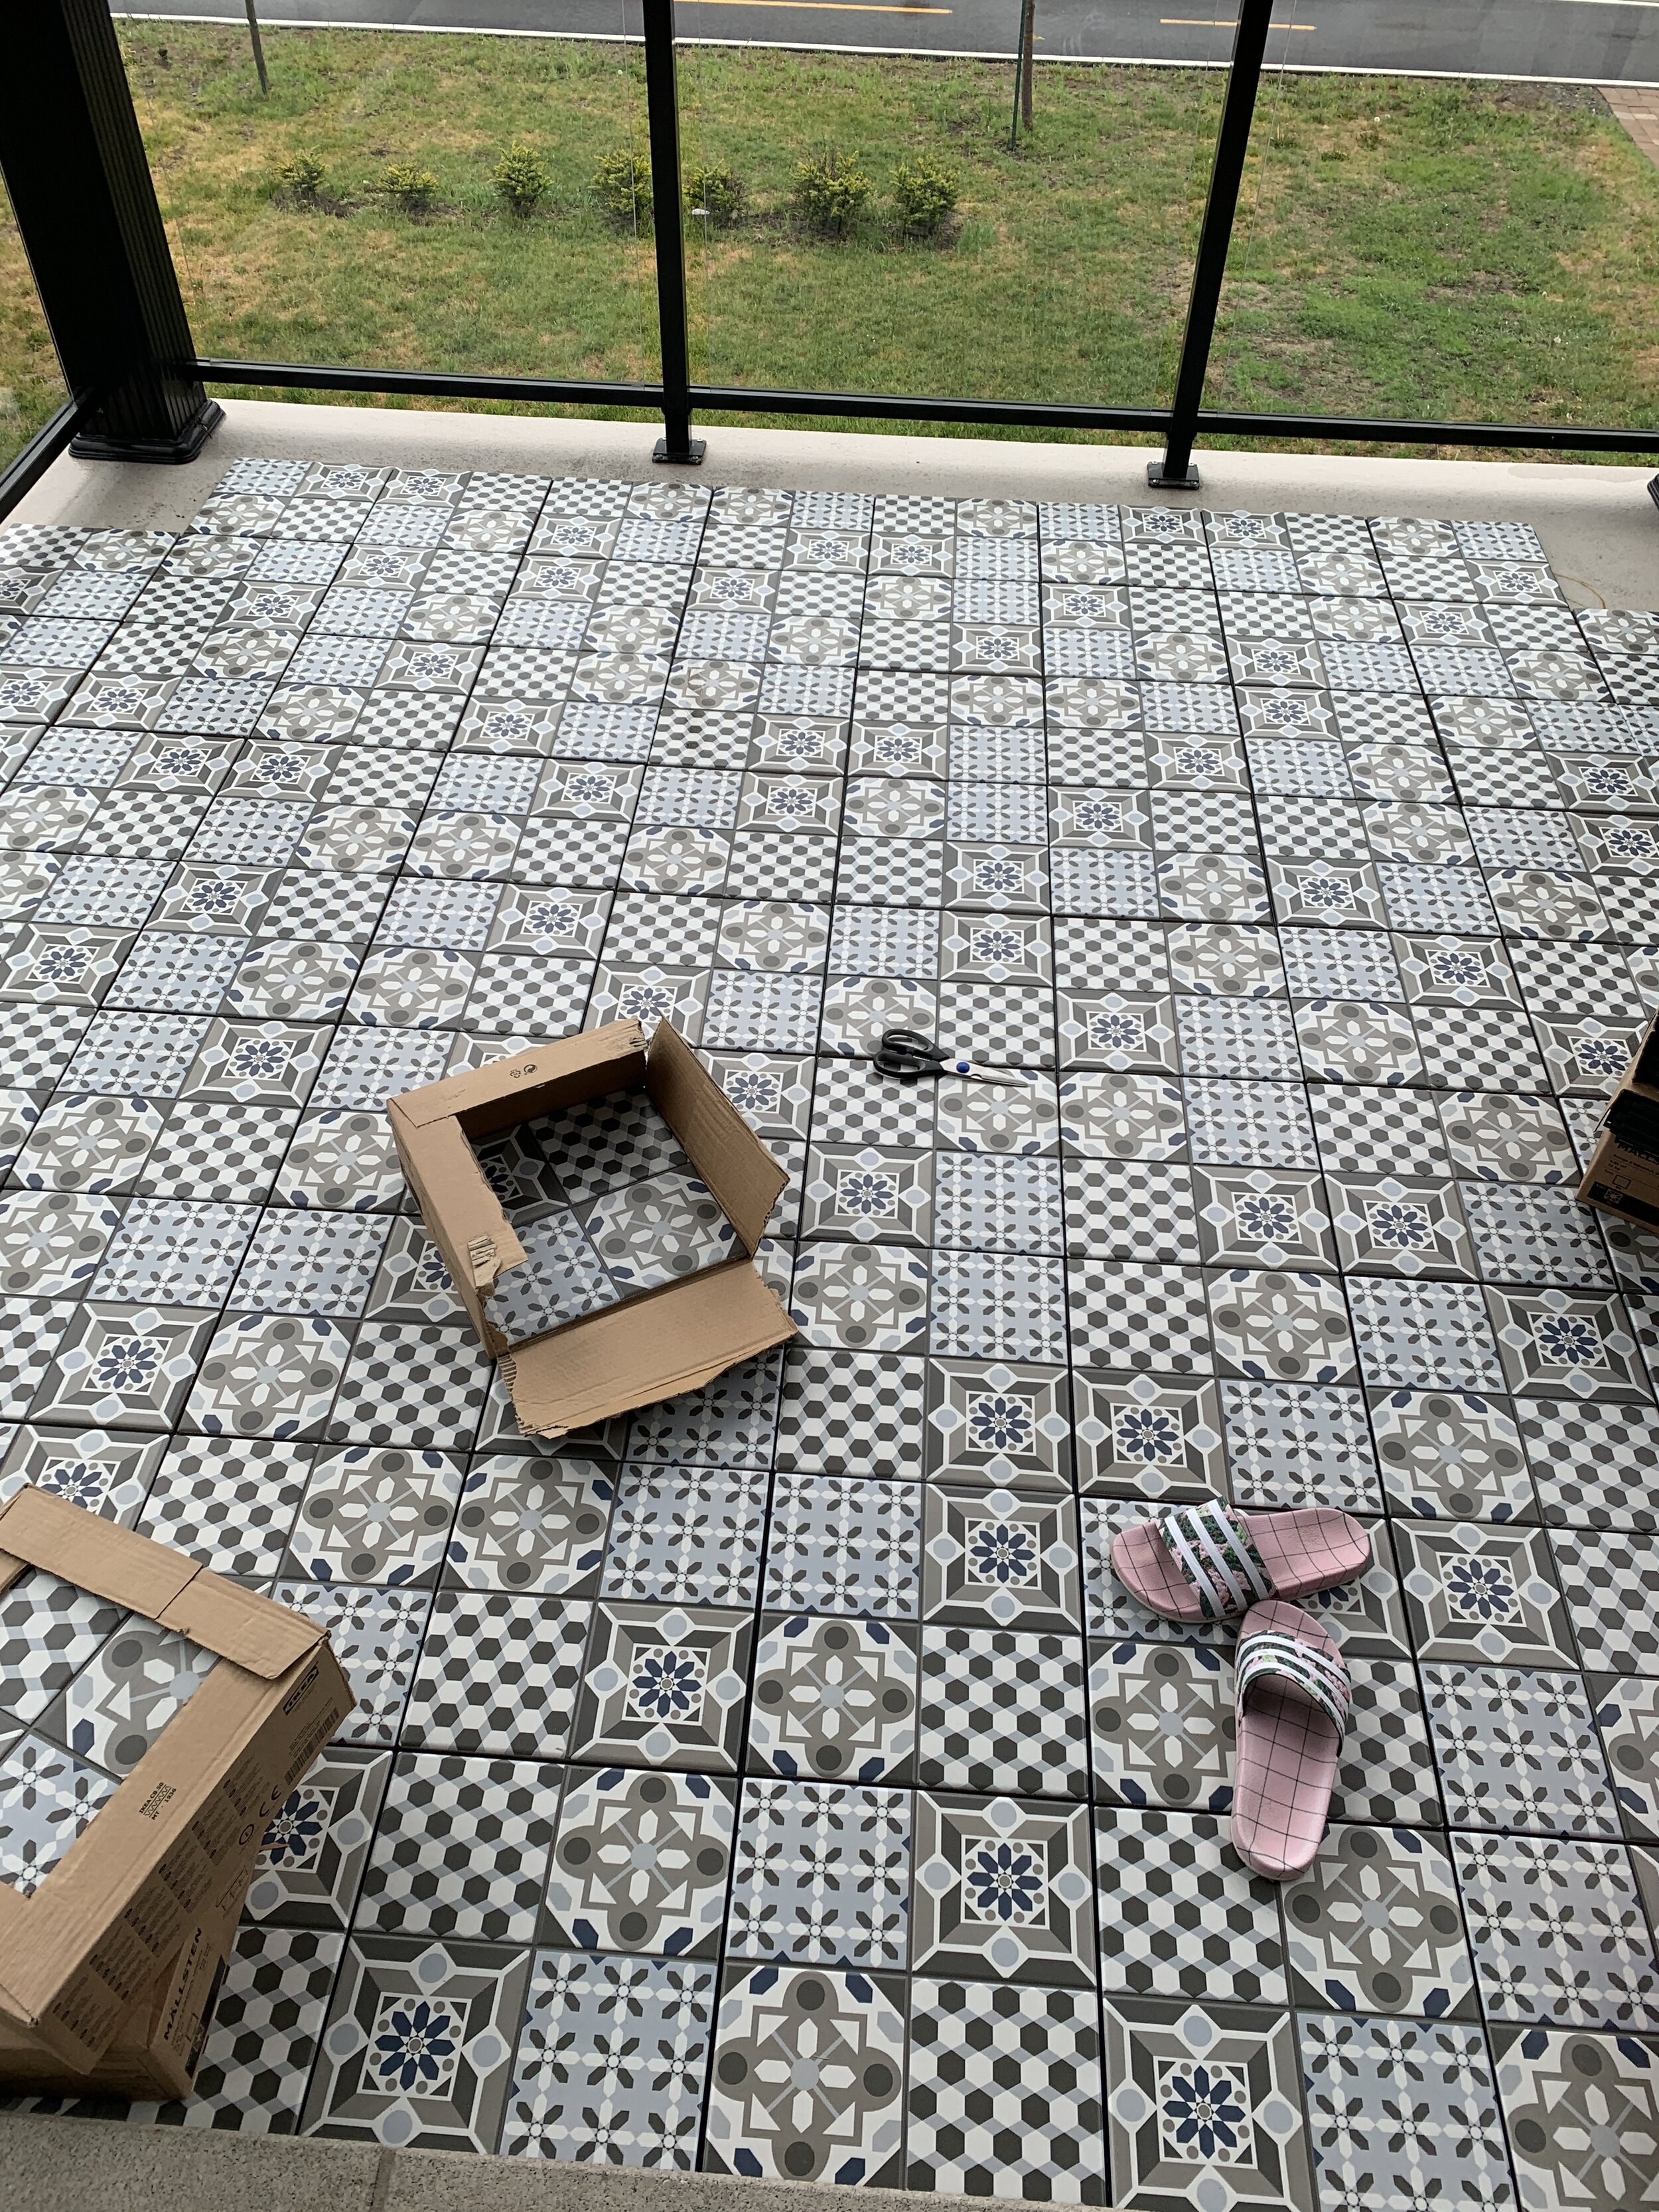
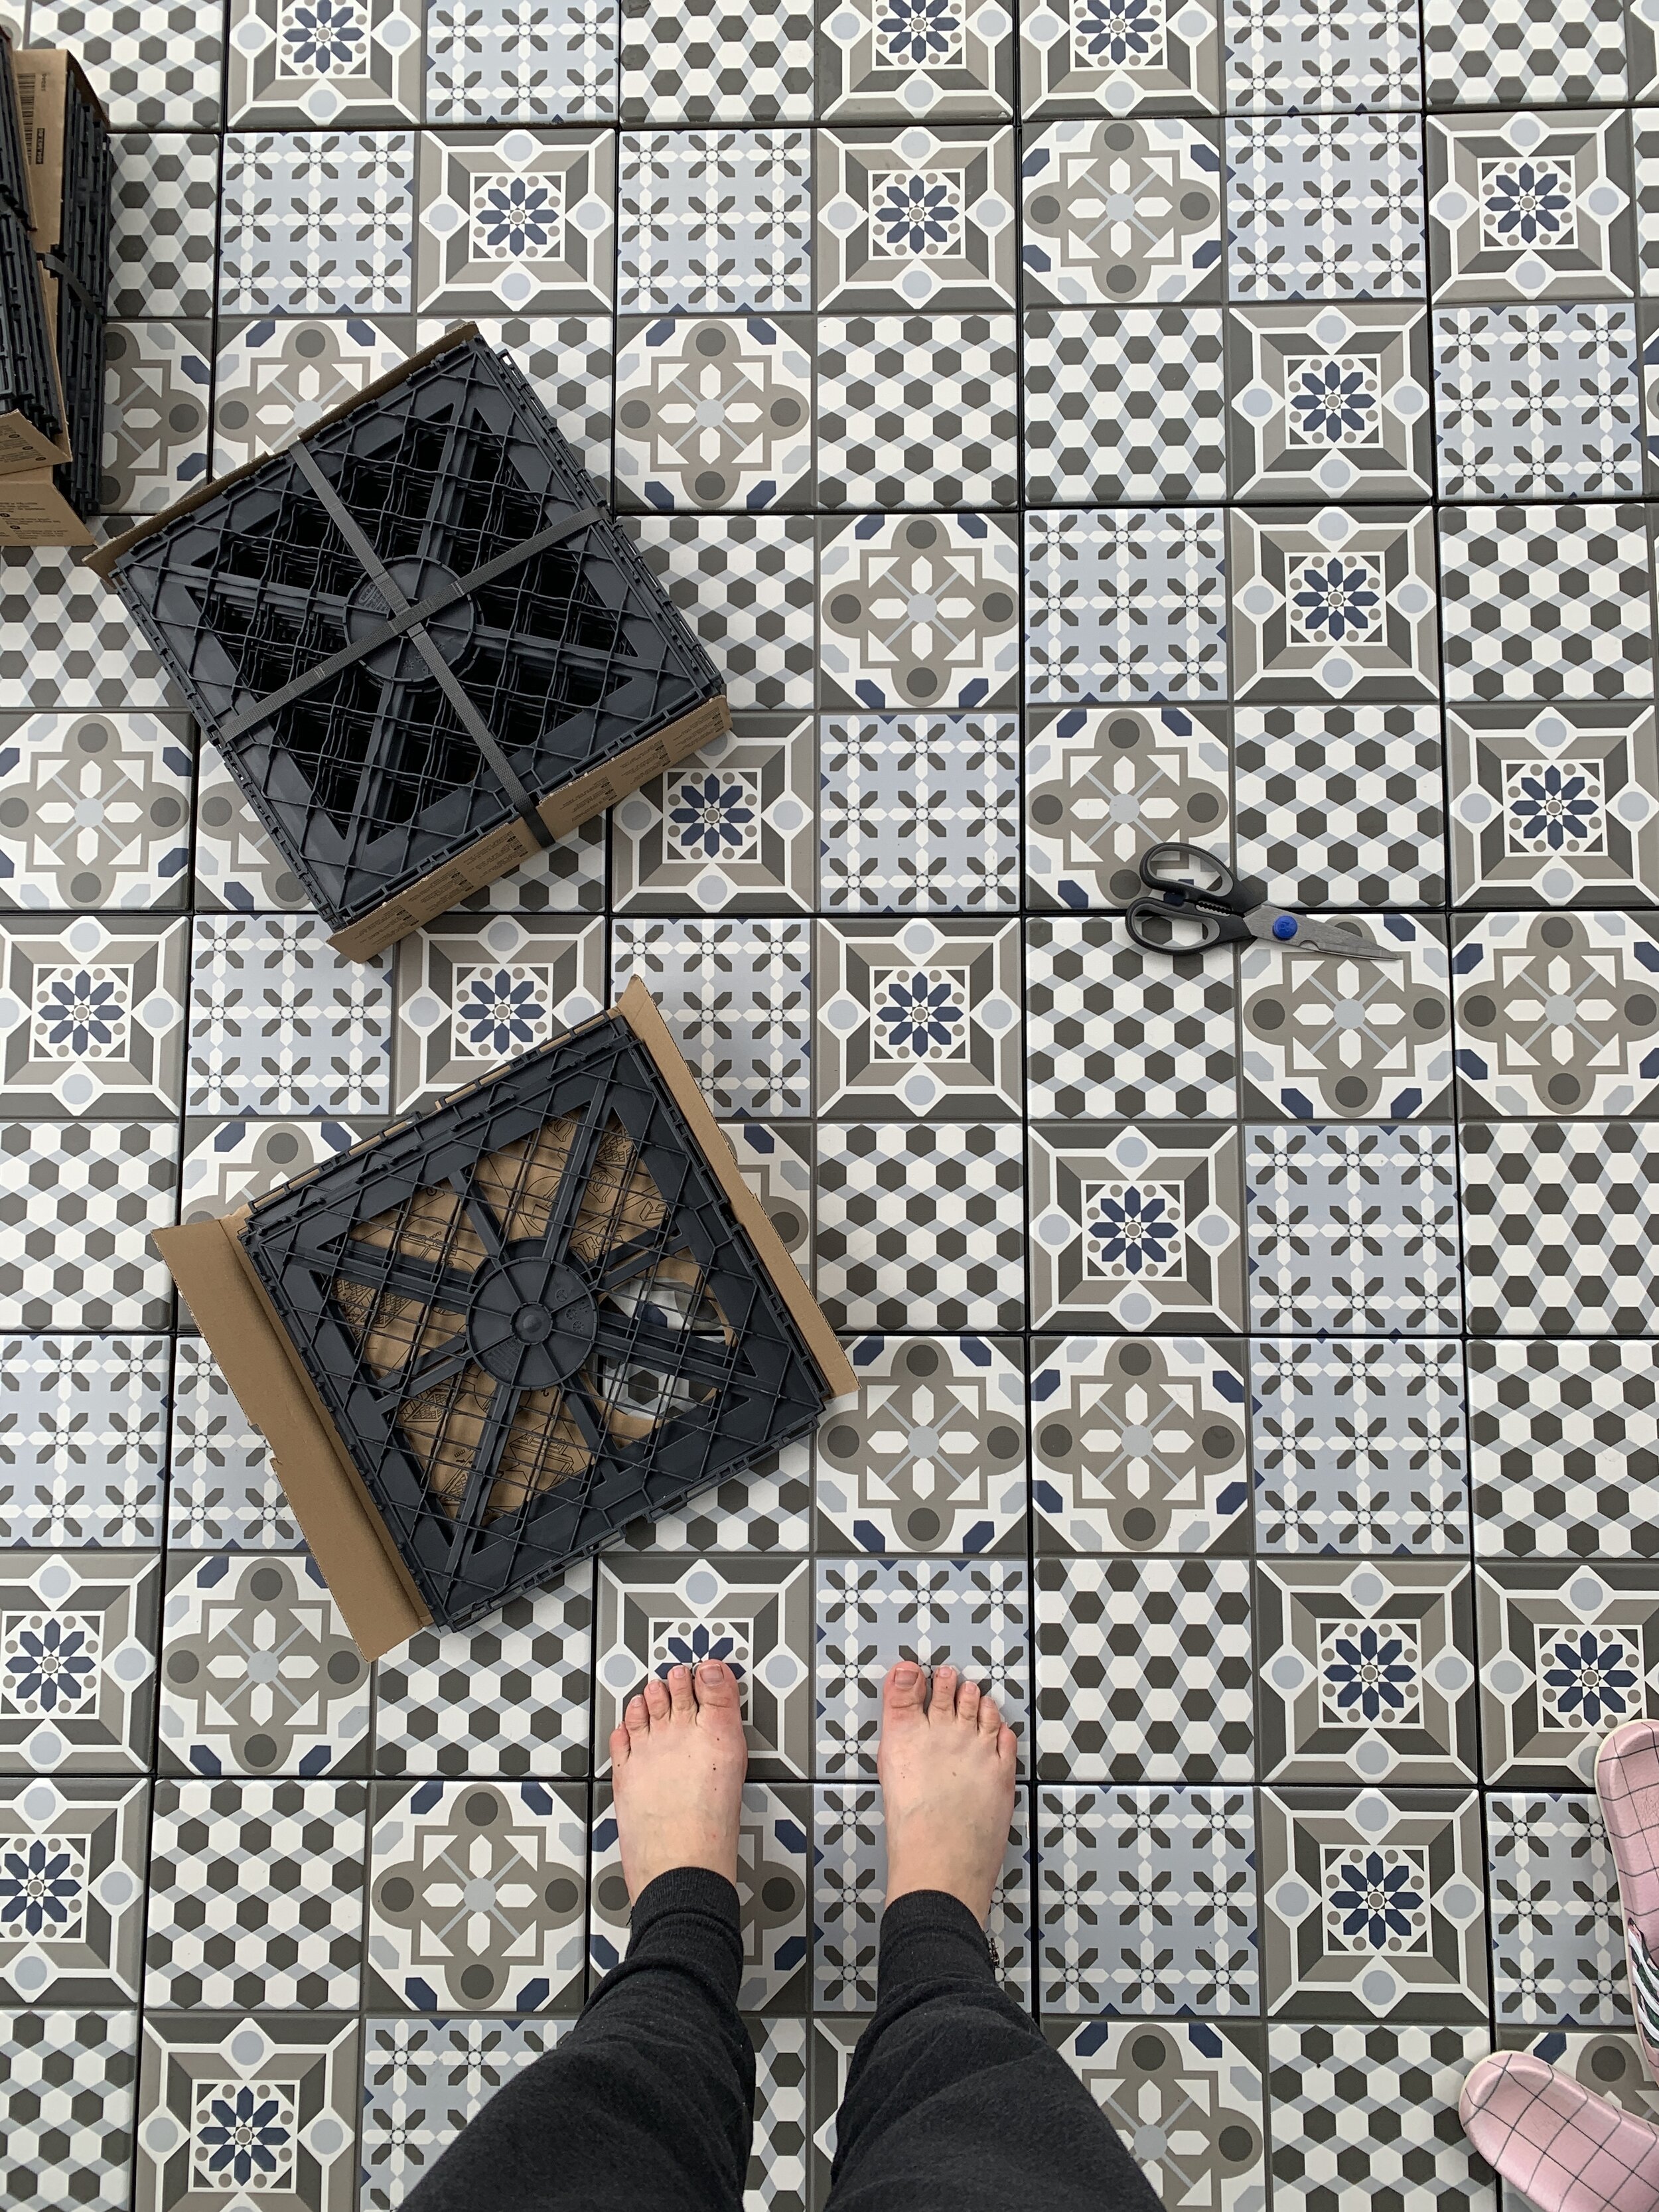
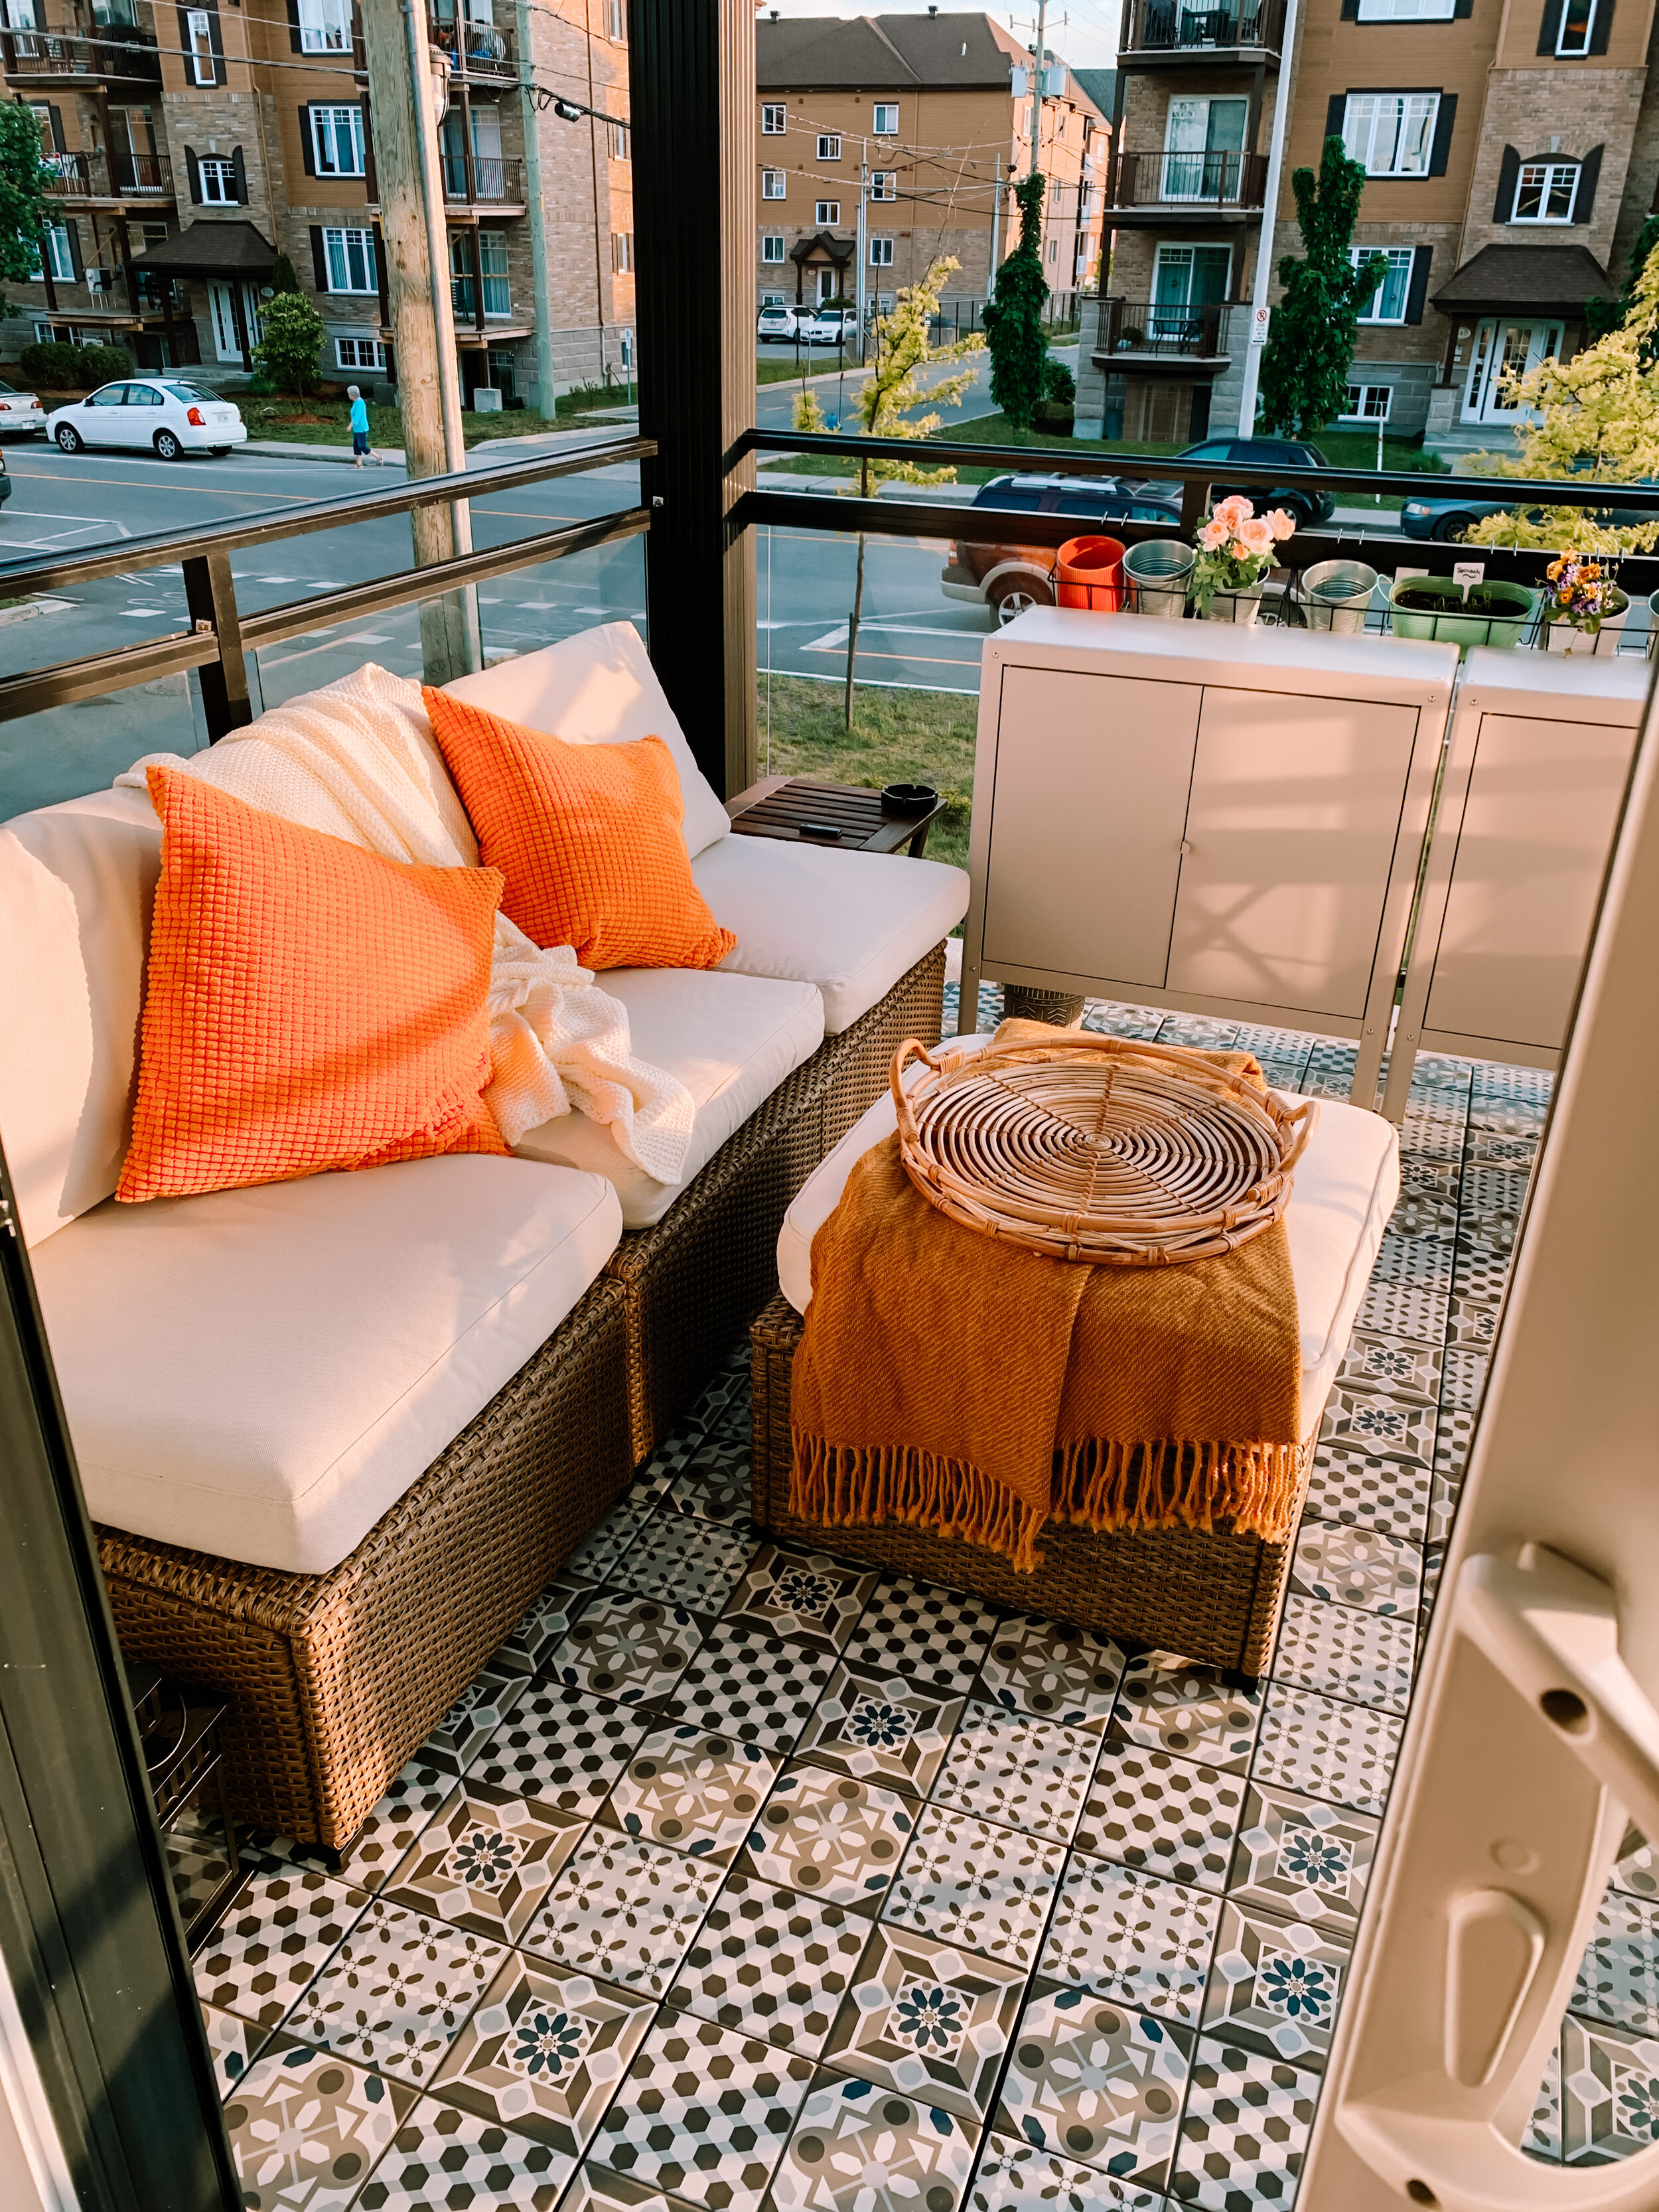
The first thing we did for this project was put the tiling down and GUYS!!! this Mallsten tile completely changed the space even without any furniture. The tiles sit in a plastic mould so they don’t sit directly on the floor and they are actual tile so they are much heavier than their other wood or grass option that IKEA has. Here’s a before and after of the transformation!
Tile floor transformation
The next step was all the furniture. Here are a couple of tips for small spaces, we opted for a couch from the Solleron collection. Reason being is there is storage underneath the seating which is brilliant for what we needed. In the winter time we will be able to storage a lot of things in the couch and then cover everything with a nylon cover.
We got a couple of Kolbjorn cabinets to put gardening tools, earth, pots, etc. These were great because we also ended up using them for more privacy.
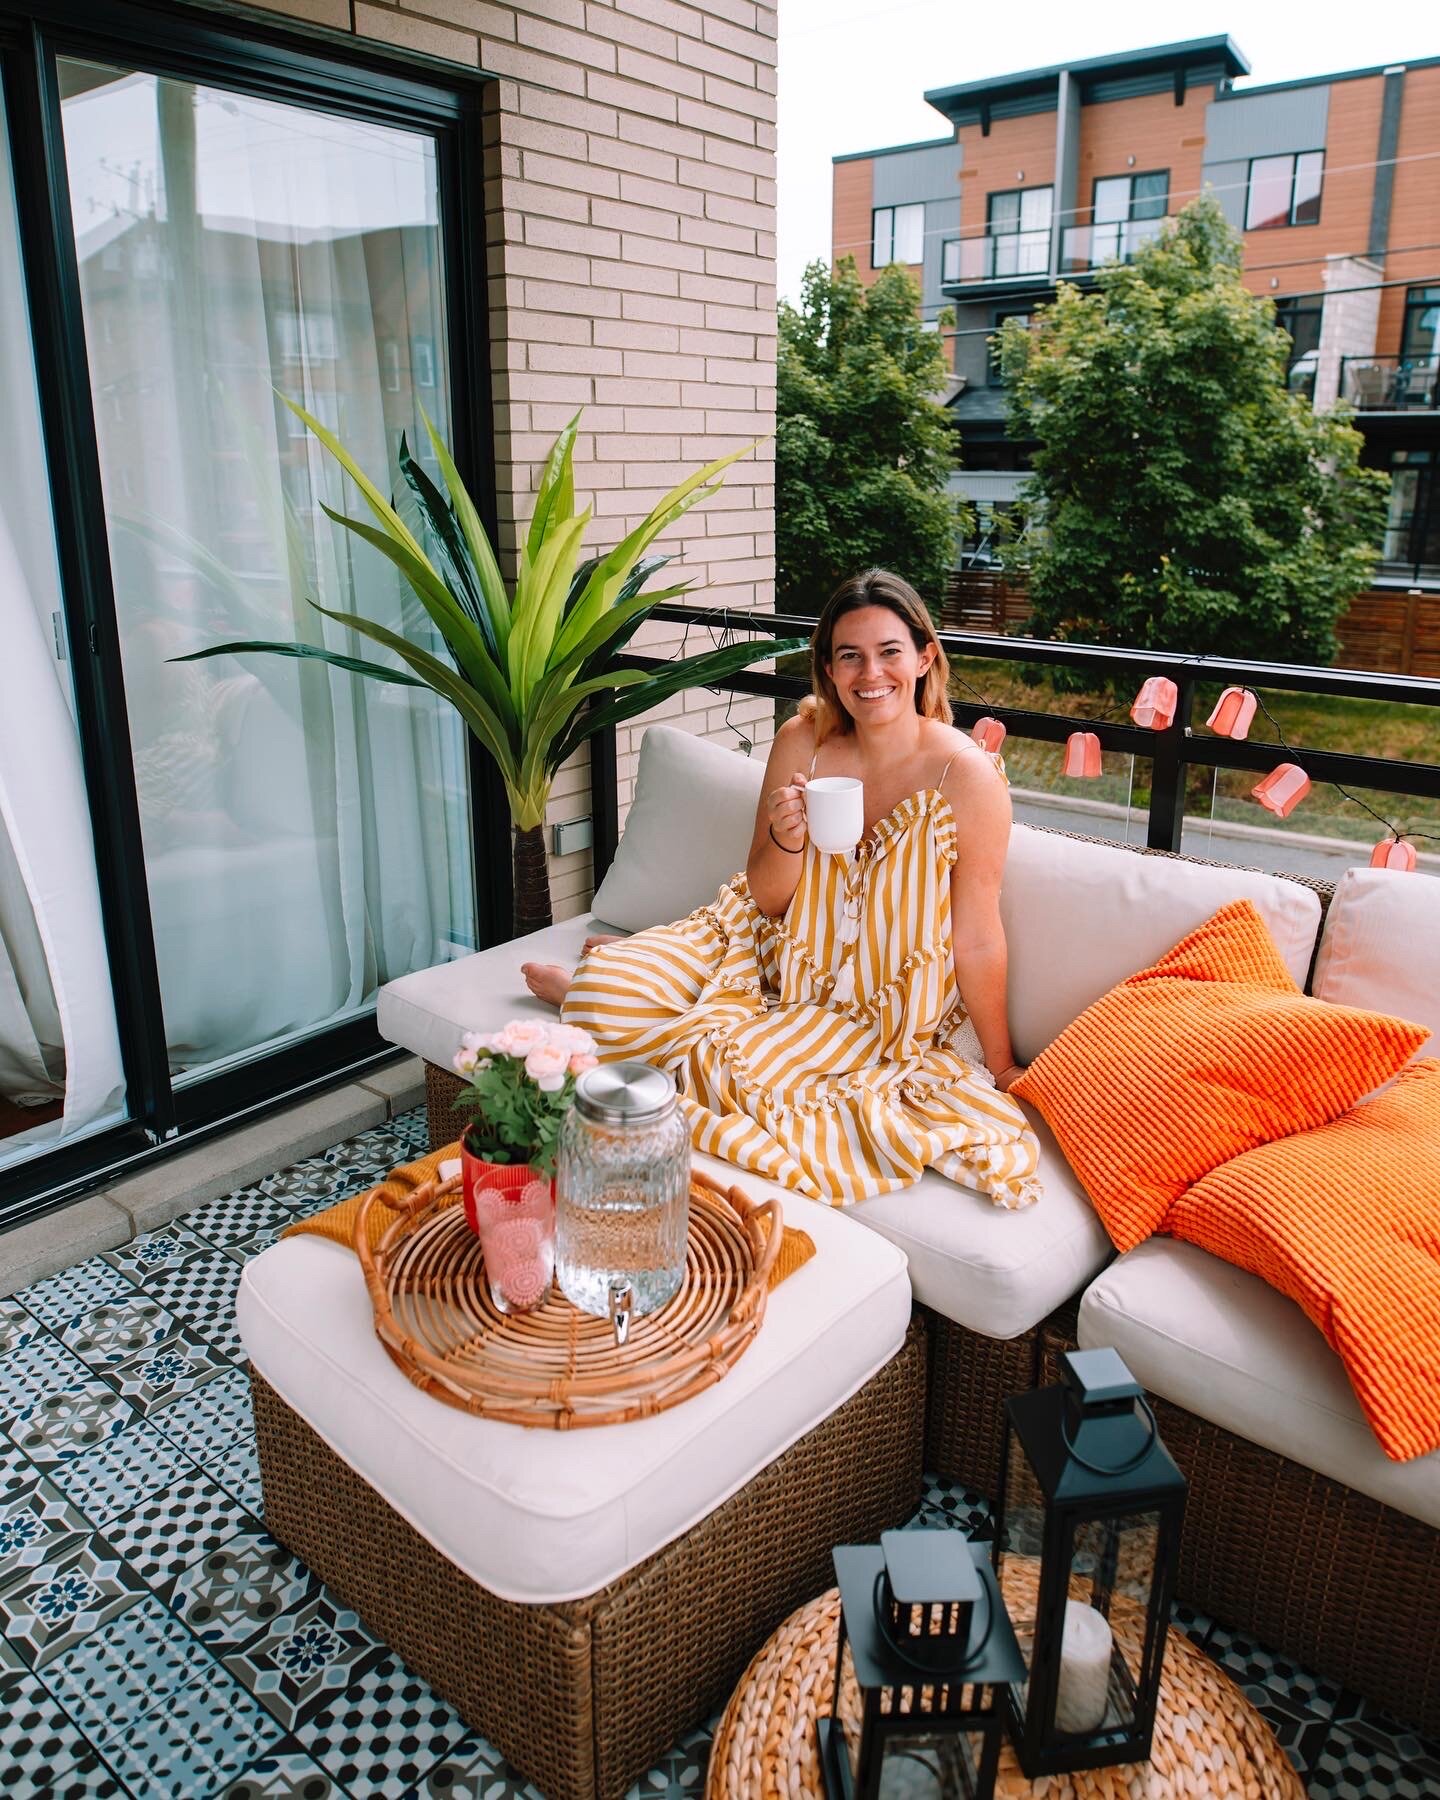
Alright! Are you ready to see the complete condo transformation?!
Before + After

Here is our complete IKEA shopping list along with links:
I hope you guys enjoyed this post! Let me know if you have any questions about this transformation below. I’m happy to answer :)
-Mel xo